Connect to Log Me In (LMI) on an Apple Computer
When working with the Geek Squad Remote Support team over the phone, there may be times when the Agent will have to remotely access your computer to help diagnose and fix an issue. In just a few steps you can allow the Agent access through a program called LMI which stands for Log Me In. Below are the steps to allow the Geek Squad Agent to connect remotely if you are using an Apple computer.
Step 1: Go to the Log Me In Website: https://secure.logmeinrescue.com/Customer/Code.aspx
Step 2: The Remote Support Agent will provide you with a PIN. Enter that PIN into the white box in the middle of the screen. Once you enter the PIN, click on Start Download.

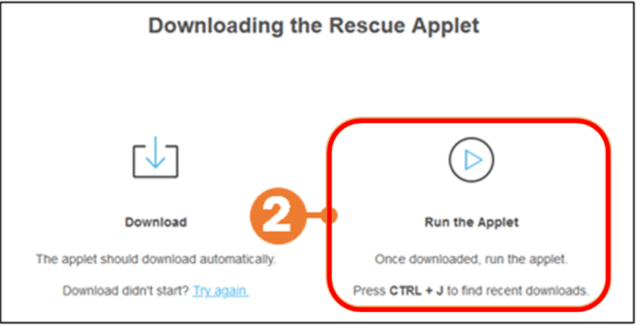
Step 3: Once the download is complete, you will see it appear somewhere on your screen. Where it is located depends on which internet browser you are using. If you are using Chrome/Microsoft Edge/Internet Explorer it will appear in the bottom left corner of the screen. If you are using Safari it will appear in the top right of your screen. Click on the download to run the program.
Note: if you cannot locate the download, press the Command key on your keyboard along with the Option key and the L key. This will bring up your list of downloads.
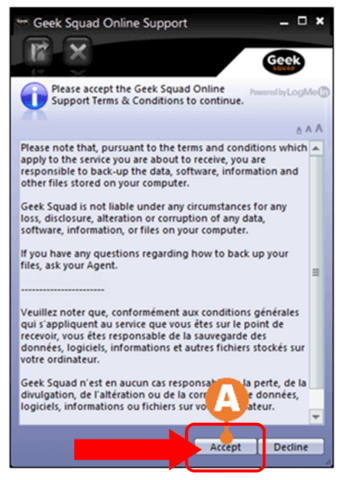
Step 4: Once you open the download, a box will appear with the Terms and Conditions of Geek Squad Support. When you are comfortable, click on Accept at the bottom of the screen.
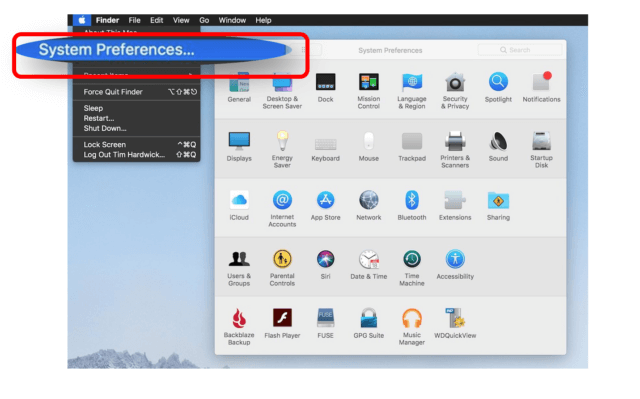
Step 4: If you are a first time client of Remote Support you will have to follow the next few steps. In the top left corner of the screen, click on the Apple logo (this is the icon that looks like an apple).
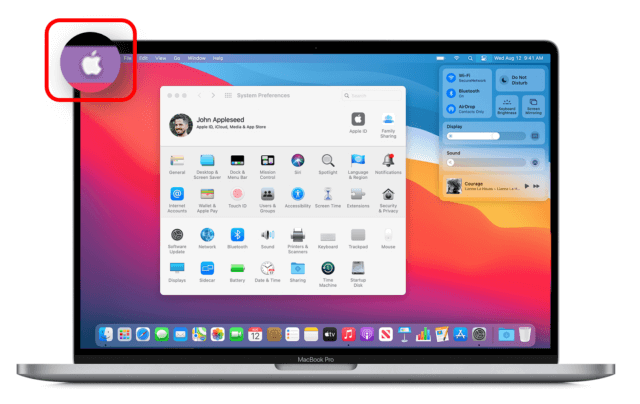
Step 5: Select the menu option titled System Preferences.
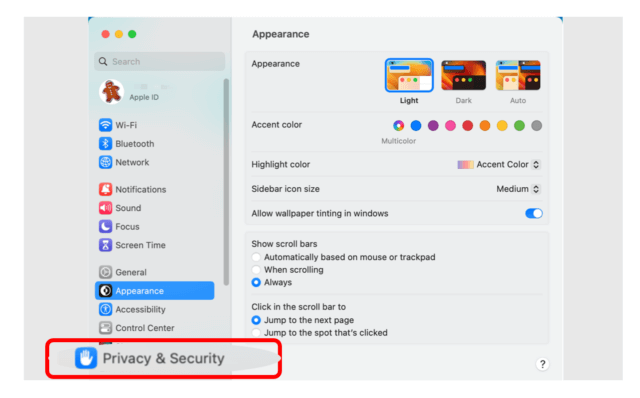
Step 6: From the System Preferences menu, select the option titled Security and Privacy.
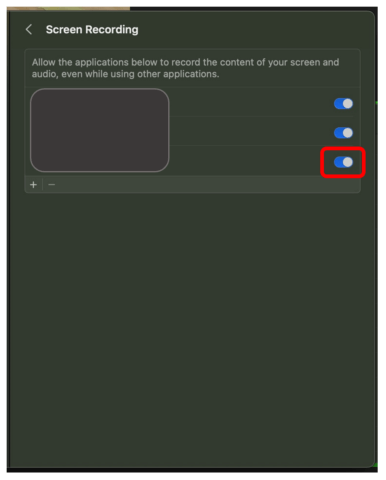
Step 7: Click on the option titled Screen Recording on the right-side of the screen.
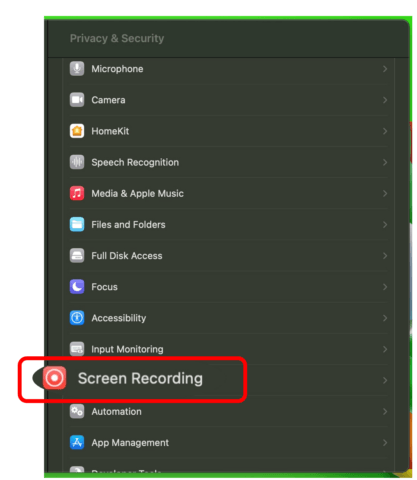
Step 8: You will then see a list of apps on the right-side of the screen. Click on the switch beside Log Me In (LMI) to turn on screen recording. You will know that screen recording is turned on if the switch icon is blue.