Additional Set up Features
Now that your iPad is setup, we want to discuss some of the settings that were skipped over in the setup process. These are features of your iPad that you can setup through the Settings app and can be adjusted at any time. The features that you can setup during the setup process or through the Settings app are: Touch ID, Passcode, Siri, create an Apple ID, and manage Screen Time. If you are not familiar with the Settings app, be sure to check out our lesson in the Get to know your iPad Course. We have also posted a photo below of what the Settings app icon looks like for you to see.

The Settings App is a grey box with a mechanical gear in the center.
Great stuff! Below we are going to explain what each of these features are and why you would want to set them up, along with a link to the instructions to setting up each one provided on Apple’s support website. Let’s take a look.

Passcode
A passcode is a string of digits or characters used to get into your iPad. This means that when your iPad is on the lock screen (the screen that shows the date and time when your iPad is turned on and screen is “woken up”), to open iPad to your home screen you will have to input the correct passcode. This is used to keep people from getting into your iPad and accessing your pictures, messages and data that is stored on your iPad. You can setup your passcode during the setup process or you can do it through the Settings app. If you are not aware of the Settings app, be sure to check out our lesson in the Get to know your iPad course.
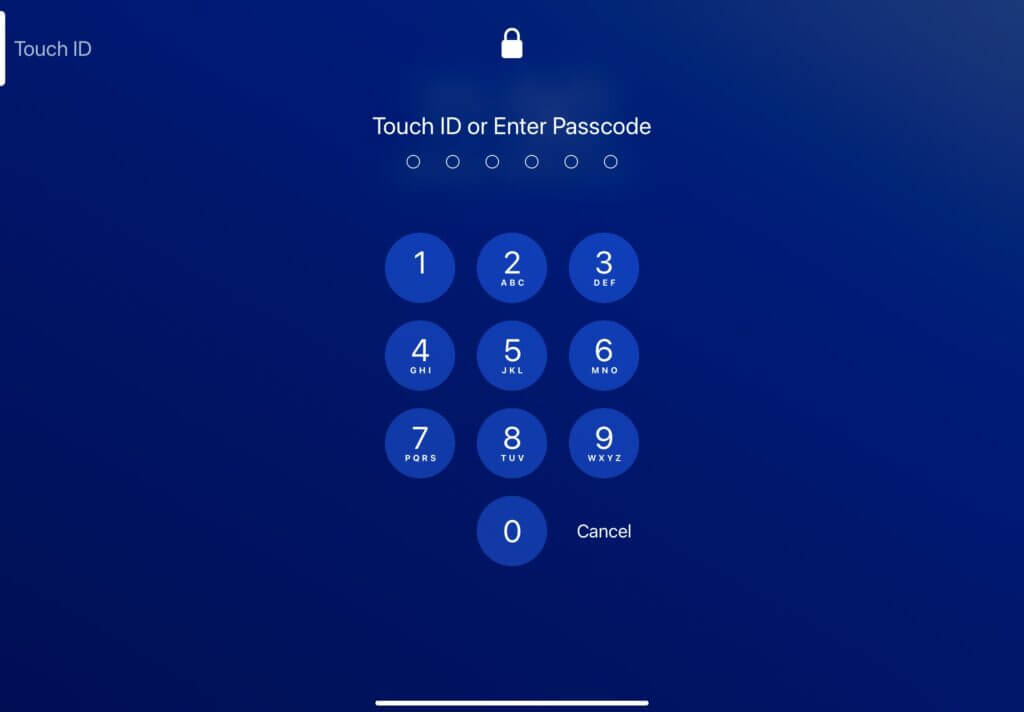
Below is a photo of what your lock screen will look like when it requires a passcode. Be sure to remember what passcode you setup so that you don’t get locked out or your iPad.
Link: if you would like to view the steps on how to setup your passcode, visit this link from Apple Support: https://support.apple.com/en-ca/guide/ipad/ipad997daf9f/ipados
Touch ID
Another way to lock your iPad is setting up Touch ID. Touch ID is used to conveniently and securely get into your iPad using your finger print. Not all iPads have Touch ID but if you have an iPad Air 2 model or later, you will be able to use this feature. Just like using a passcode, Touch ID allows you to prevent other people from getting into your iPad but also has the bonus feature of not having to worry about remembering your passcode every time. You can set it up during the setup process or through the Settings app. When you do set up Touch ID, all you will need to do is place your finger on your home button and you will unlock your iPad.
Siri
You may have heard the word Siri before, but have wondered what or who this is. Siri is the voice assistant used on iOS devices such as iPads and iPhones. During the setup process, one step was to setup Siri. When Siri is setup on your iPad, this means that you can use voice commands to operate it. For example, if Siri is set up, you can simply say, “Hey Siri, open my Mail app”, or even “Hey Siri, what is the weather like today?”. To setup Siri on your iPad you will need to go to your Settings app. Siri is a great accessibility feature to use if you have challenges tapping your screen. Check out the link below to view the steps on how to start using Siri.
Link: https://support.apple.com/en-ca/guide/ipad/ipad4bce70ef/ipados
Create an Apple ID
An Apple ID is the account that you will need to create to sign in to Apple services. It is important that you set this up if you plan on downloading apps from the App Store, Apple Music, iMessage, and FaceTime. If you have multiple Apple devices, you can also use your Apple ID to log in to all of them so that your device will automatically use the same settings that are associated with your Apple ID account. You can create a new Apple ID account 2 ways. The first is through the set up process that we saw in the previous lesson, or the second way is to set it up through the App Store. A photo of what the App Store icon looks like is posted below, along with a link that will provide you with the steps on how to create your Apple ID.
To start setting up your Apple ID, tap on the App Store icon. This is a blue square with a white A in the center.
Link: https://support.apple.com/en-us/HT204316
Screen Time
With the Screen Time feature on iPad you are able to view and manage the amount of time you spend using your iPad. You are able to view which times of day you use it the most, which apps you use the most, and even set limits for yourself. You can set up Screen Time during the setup process or through the Settings app on your iPad. If you would like to turn on Screen Time, follow the steps listed in the link below.
Link: https://support.apple.com/en-ca/guide/ipad/ipadb15cb886/ipados
Wow, we have learnt a lot today! Remember, when you make changes to any of the settings on your iPad, you can always go back and change it again. It is important you set your iPad up to fit your personal needs. Thank you for joining me today. Bye, for now!

Great work! You have reached the end of this course. Remember, digital skills take practice! We encourage you to review the course as often as you like. If you need further assistance please see our Get Help page to learn about the other ways Best Buy and Geek Squad can assist you.