Post a Photo on Instagram
The main purpose of the Instagram platform is to share photos with people who follow your page. Although there are different ways to share photos using Instagram, this lesson will demonstrate how to share a photo directly to your Instagram page. By uploading a photo to your page, anyone who follows your Instagram account will be able to view the photo.
Now that you have set up your account and started to follow different pages, let’s learn how you can post a photo to your own page!

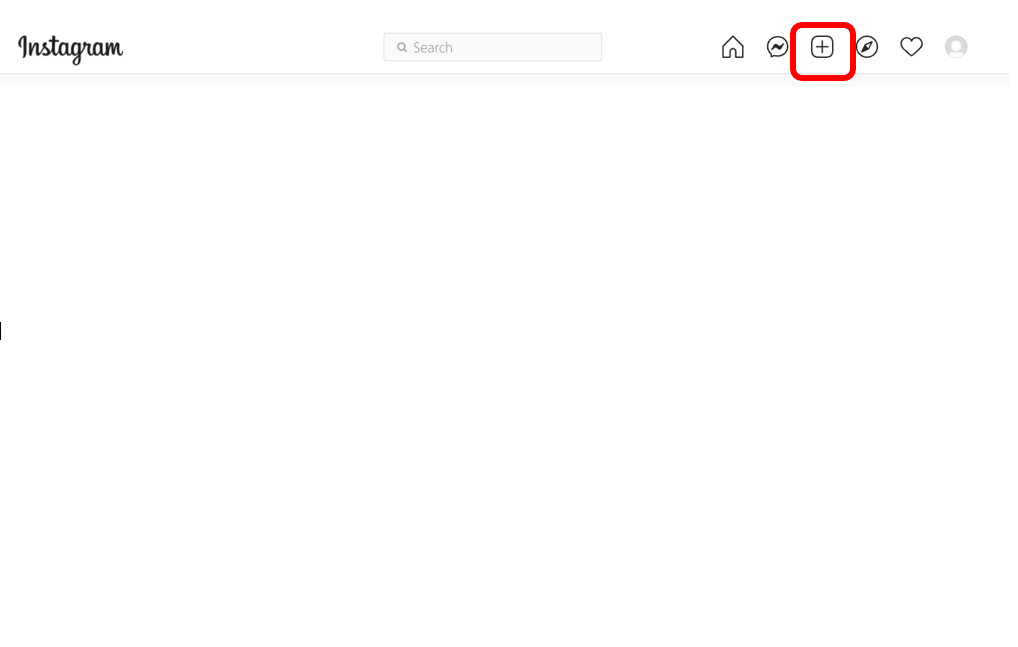
Step 1: To post a photo, tap on the + icon in the top right-side of the screen.
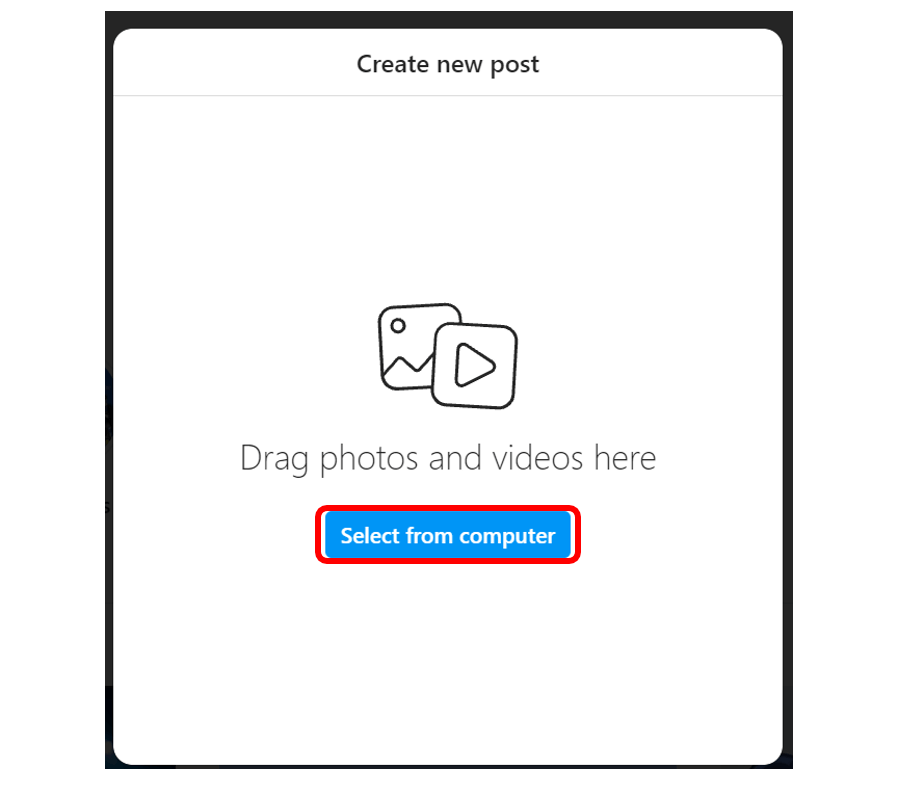
Step 2: If you are using your computer, click on Select From Computer to choose which photo from your files you would like to post. Note: when you click on Select from Computer, your Pictures file will open which stores all the photos that are saved to your computer.
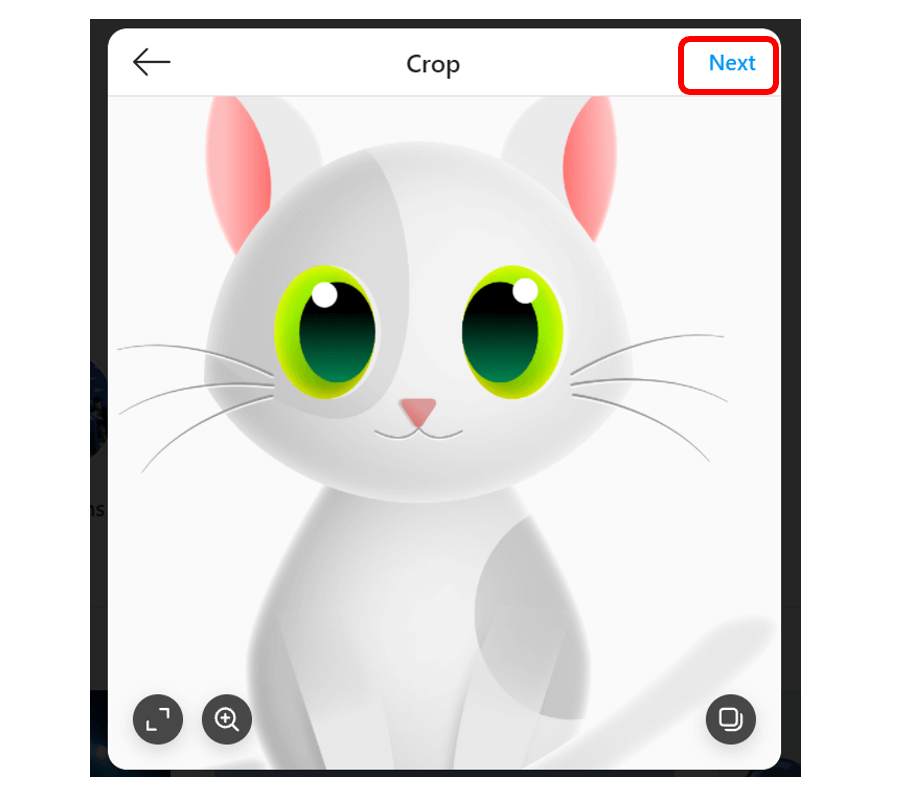
Step 3: Once you choose the photo you would like to post click on Next. Note: you may need to adjust the photo to fit the frame. By clicking on and dragging the photo you can adjust it.
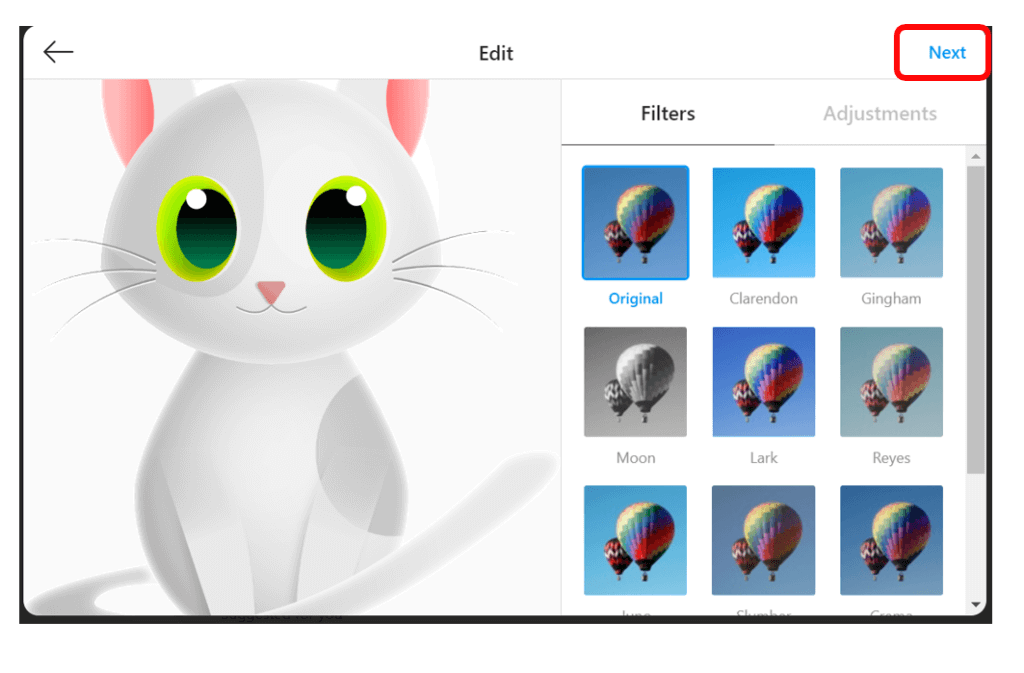
Step 4: You will then be provided a list of filters that you can add to the photo to enhance it. We will go through editing photos in future topics, so for now we will post the original photo. Once your filter is chosen, click on Next.
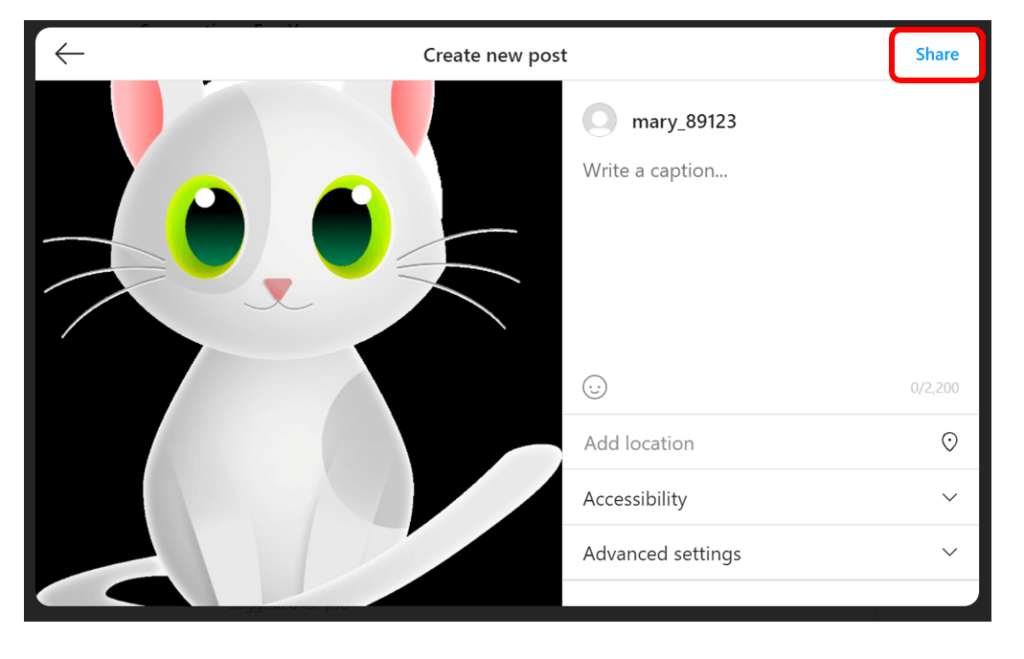
Step 5: Before sharing the photo, you can add a caption which is a description of the photo. When you are ready to post the photo, click on Share. Once you click Share, you will get a message confirming that your post has been shared.
Great job! As always, safety and privacy are extremely important, especially when it comes to using the internet and social media. Move on to our next lesson to see how you can adjust your privacy settings.