How to complete a setup of a Windows computer Part 1
Now that we know what comes in the box, let’s go through the steps on how to set up your computer so that you can start using it.
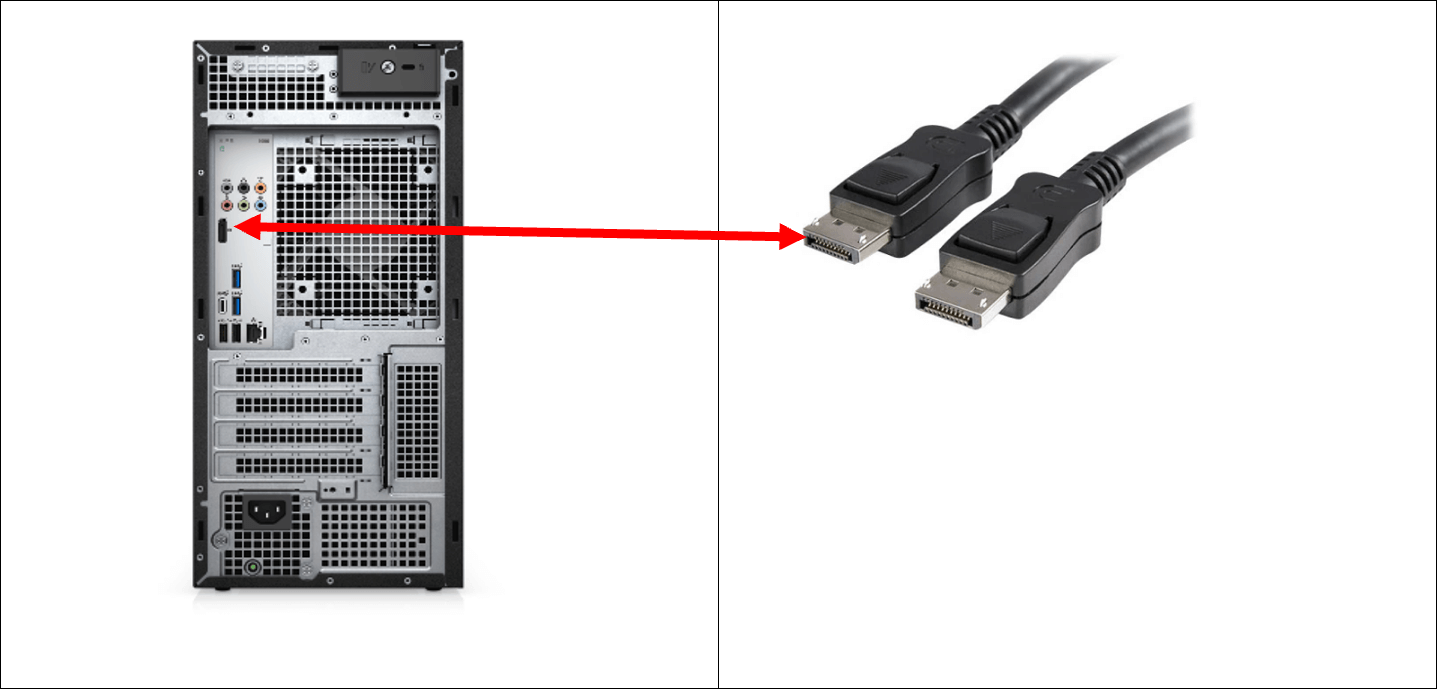
Step 1: If you have a desktop computer with a tower, you will need to plug one side of the monitor cable into the monitor and the other side to the computer.
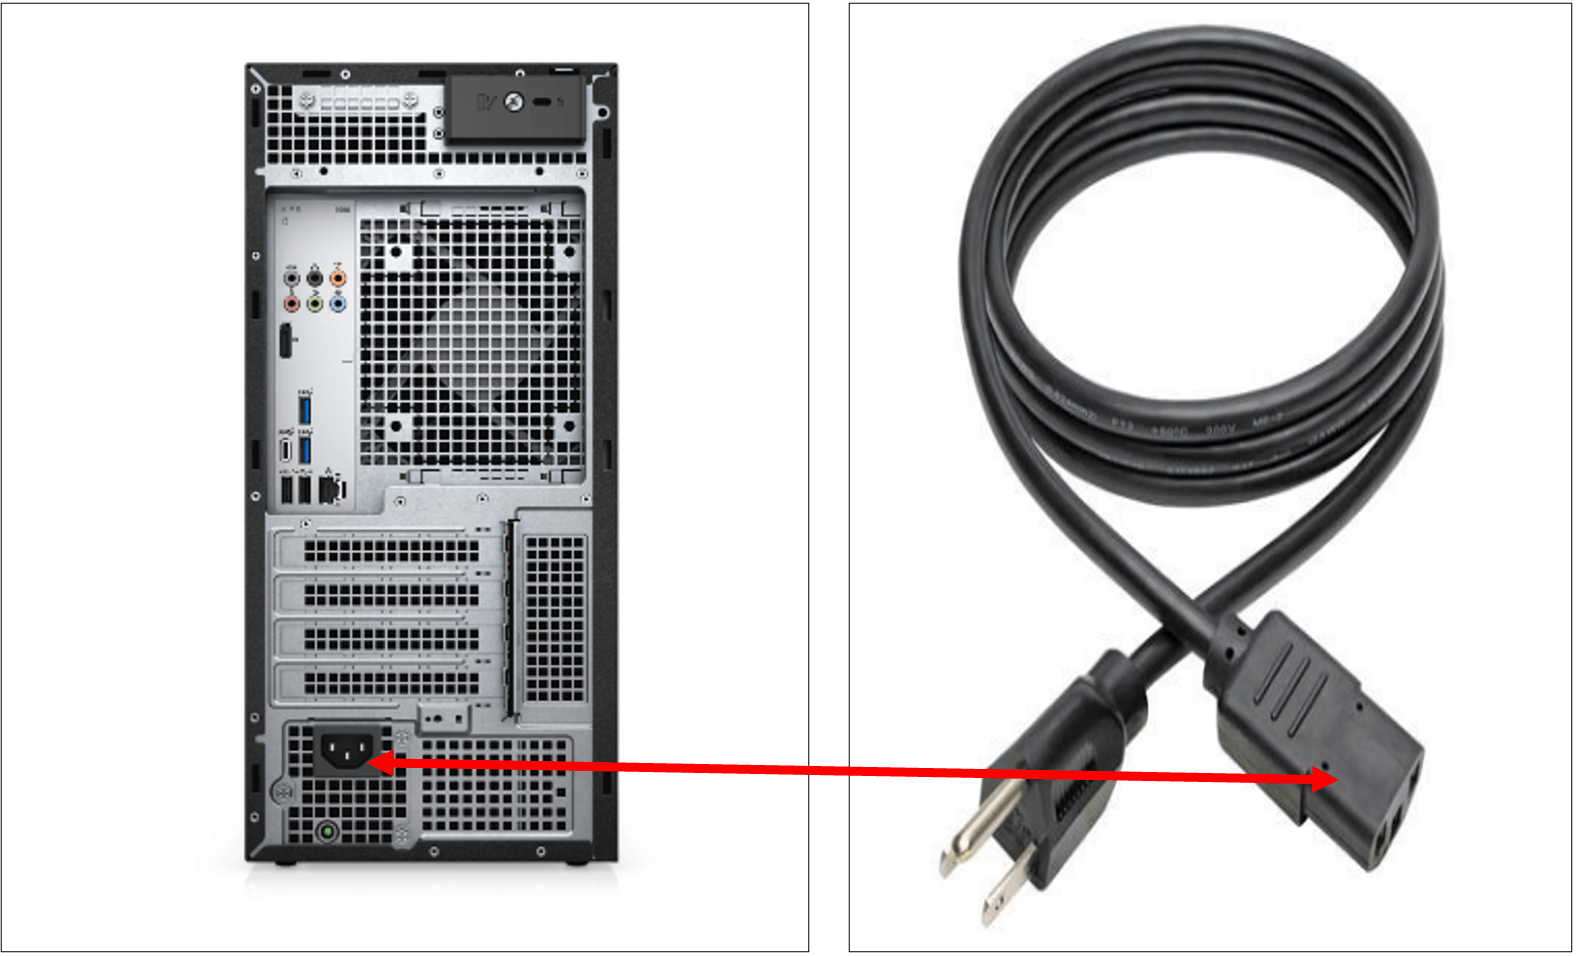
You will also need to connect one end of the power cable to the computer and the other end into an outlet on the wall.
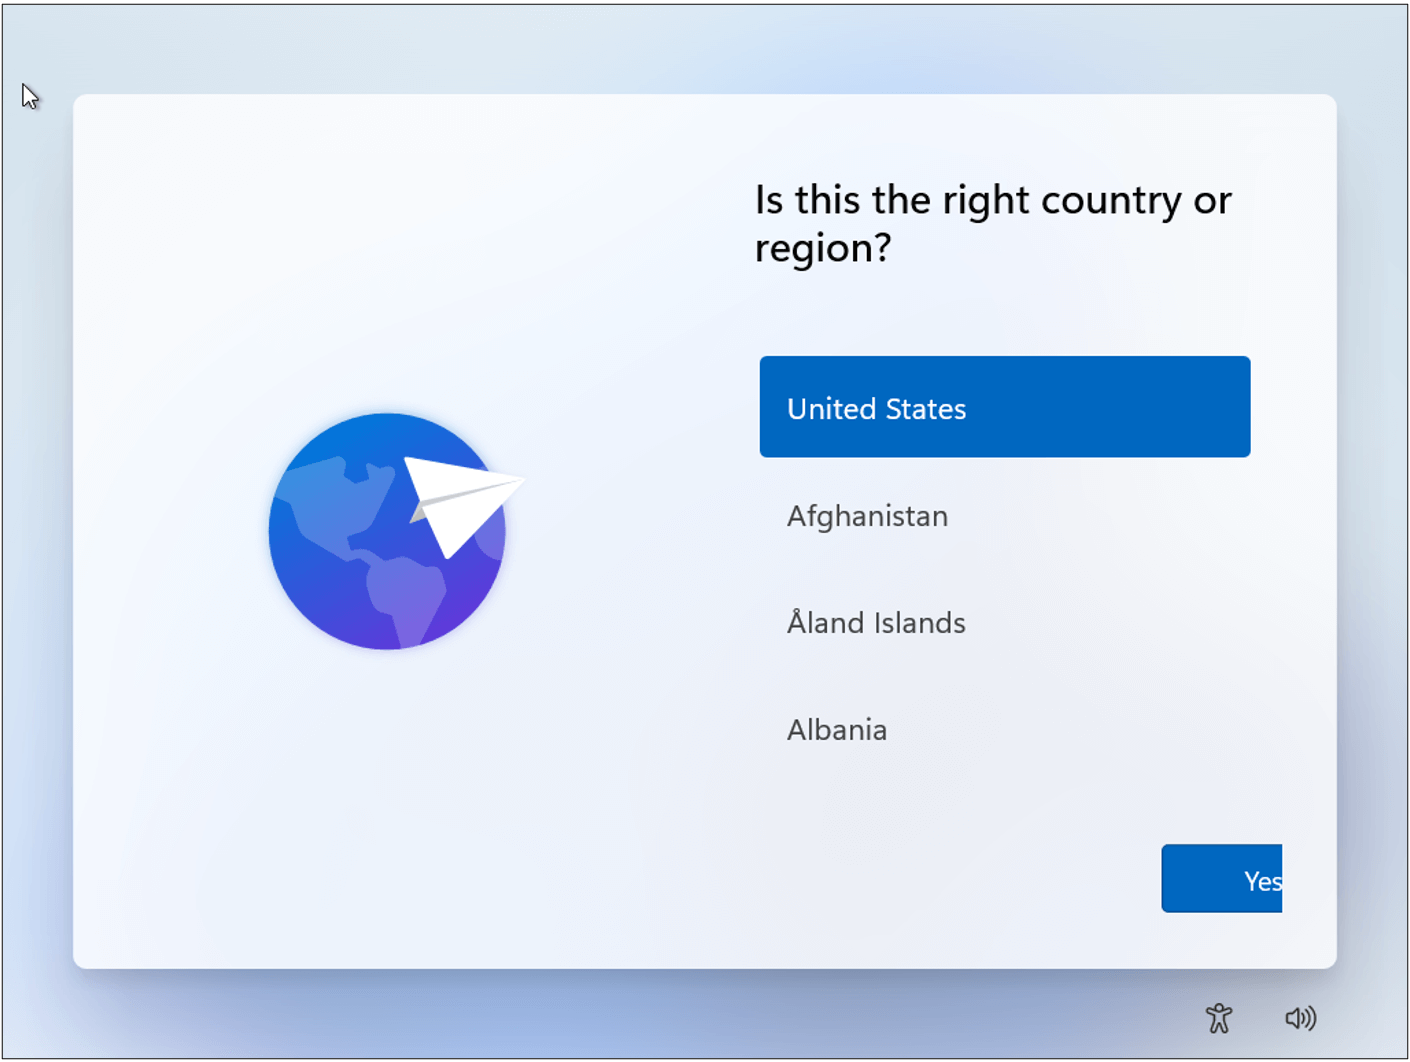
Step 2:When the pc starts up, it will ask you for the region so you want to find and select your region like Canada, etc and when you do find it you will click on Yes.
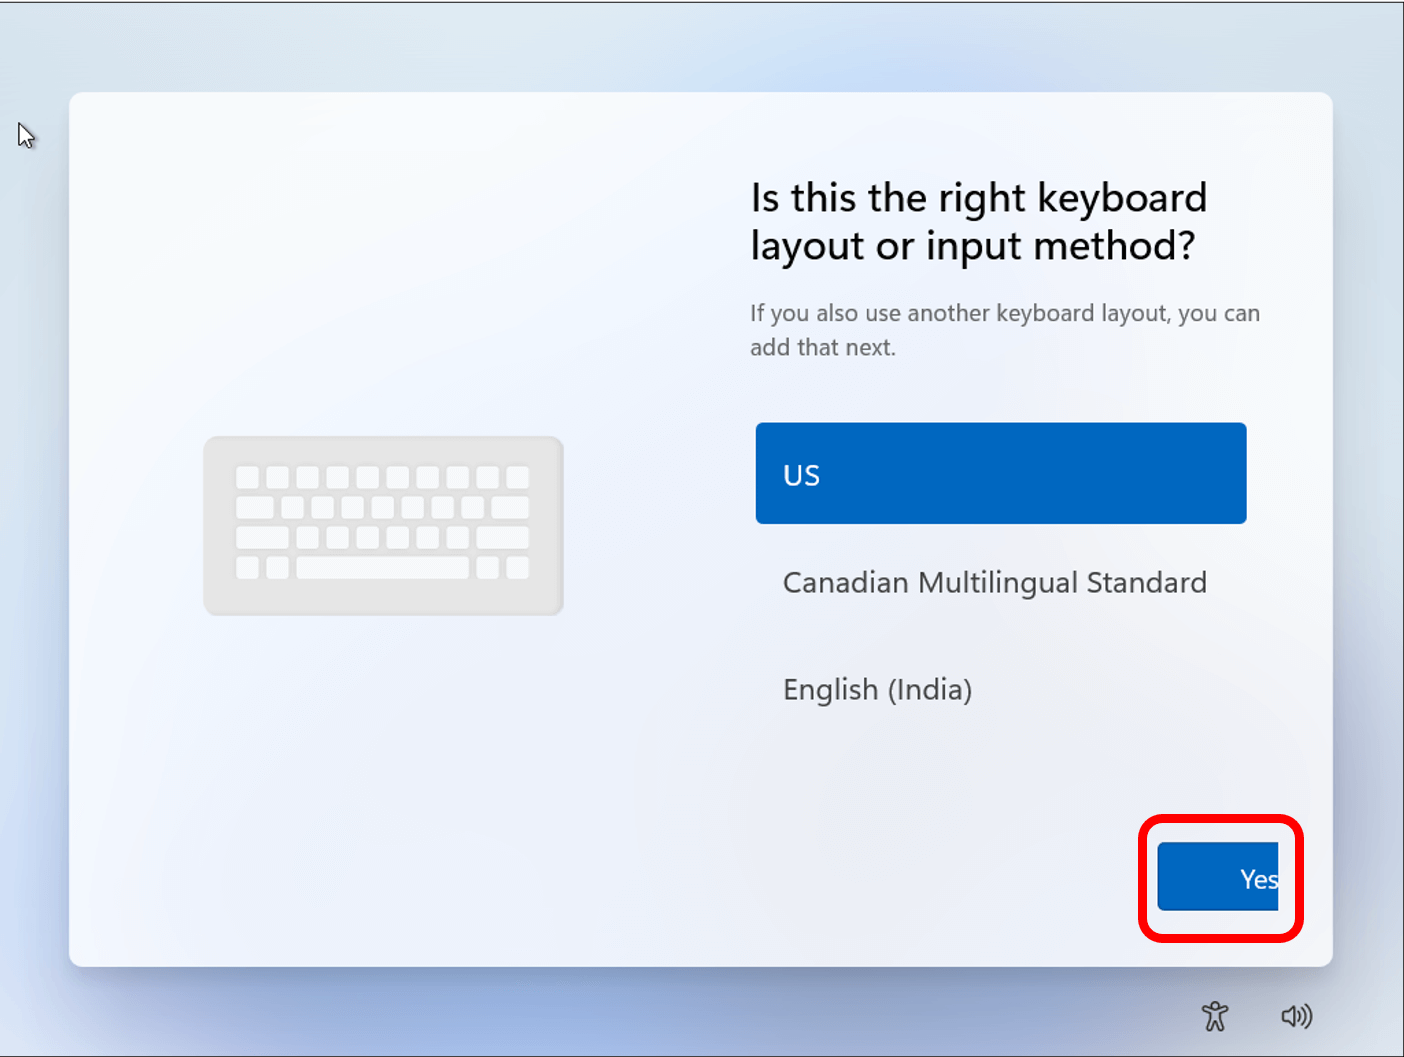
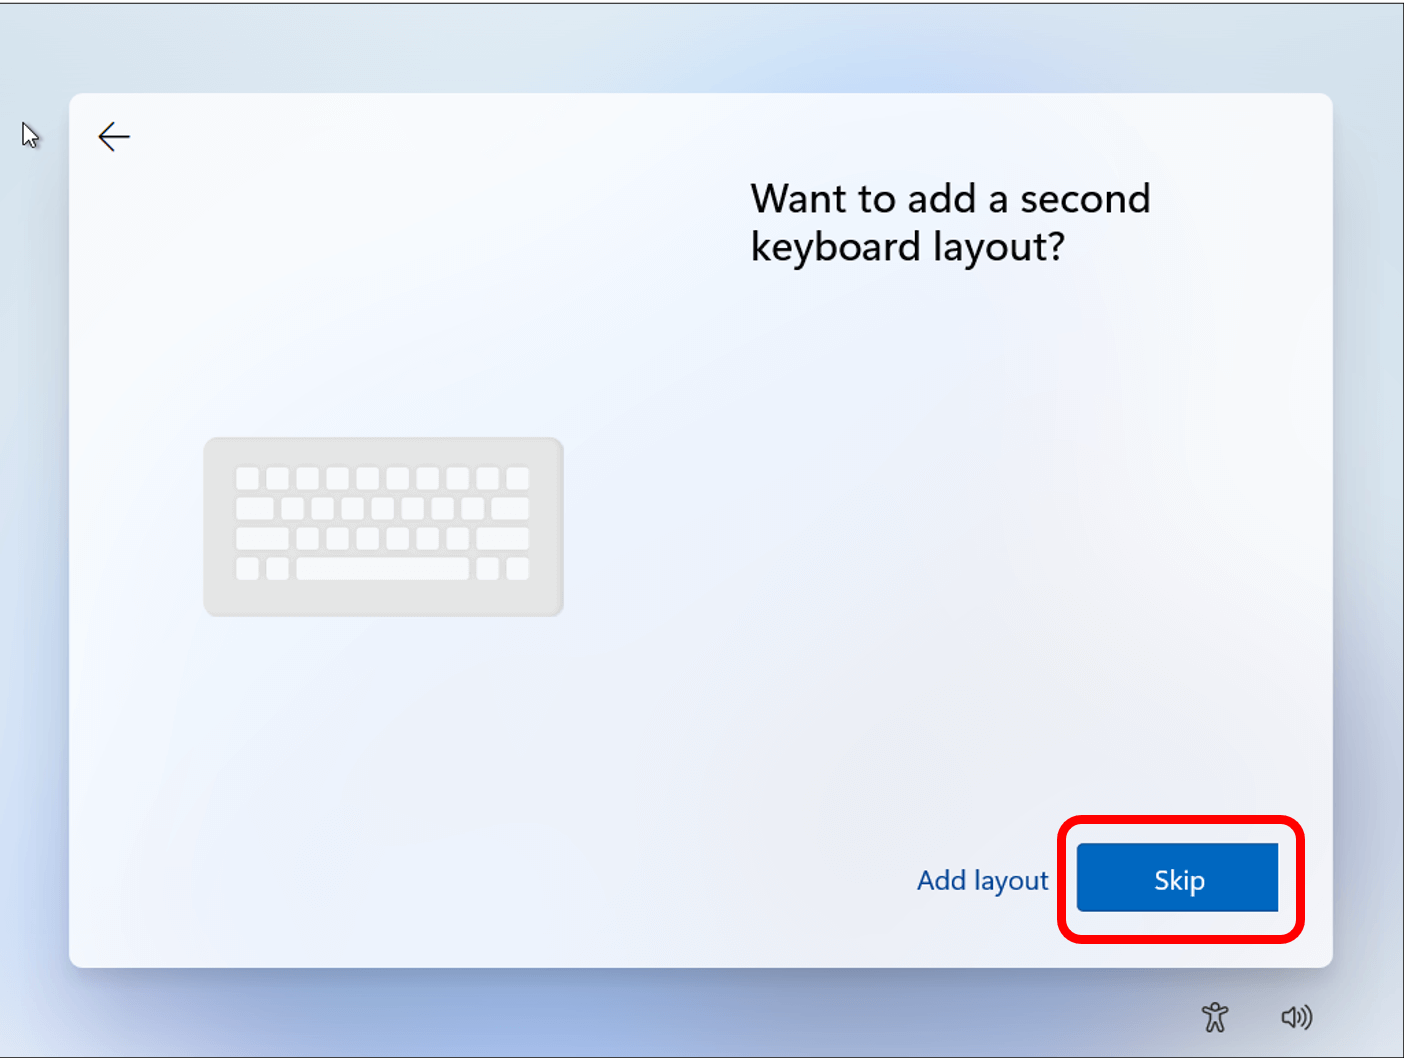
Step 3: You will then be asked about they keyboard layout. This is the arrangement of the keys on the computer. Choose the layout you would like and then click Yes. Then you will be asked if you would like to add an additional keyboard layout. For this demo we will click on Skip but you can choose which additional keyboard you would like to have.
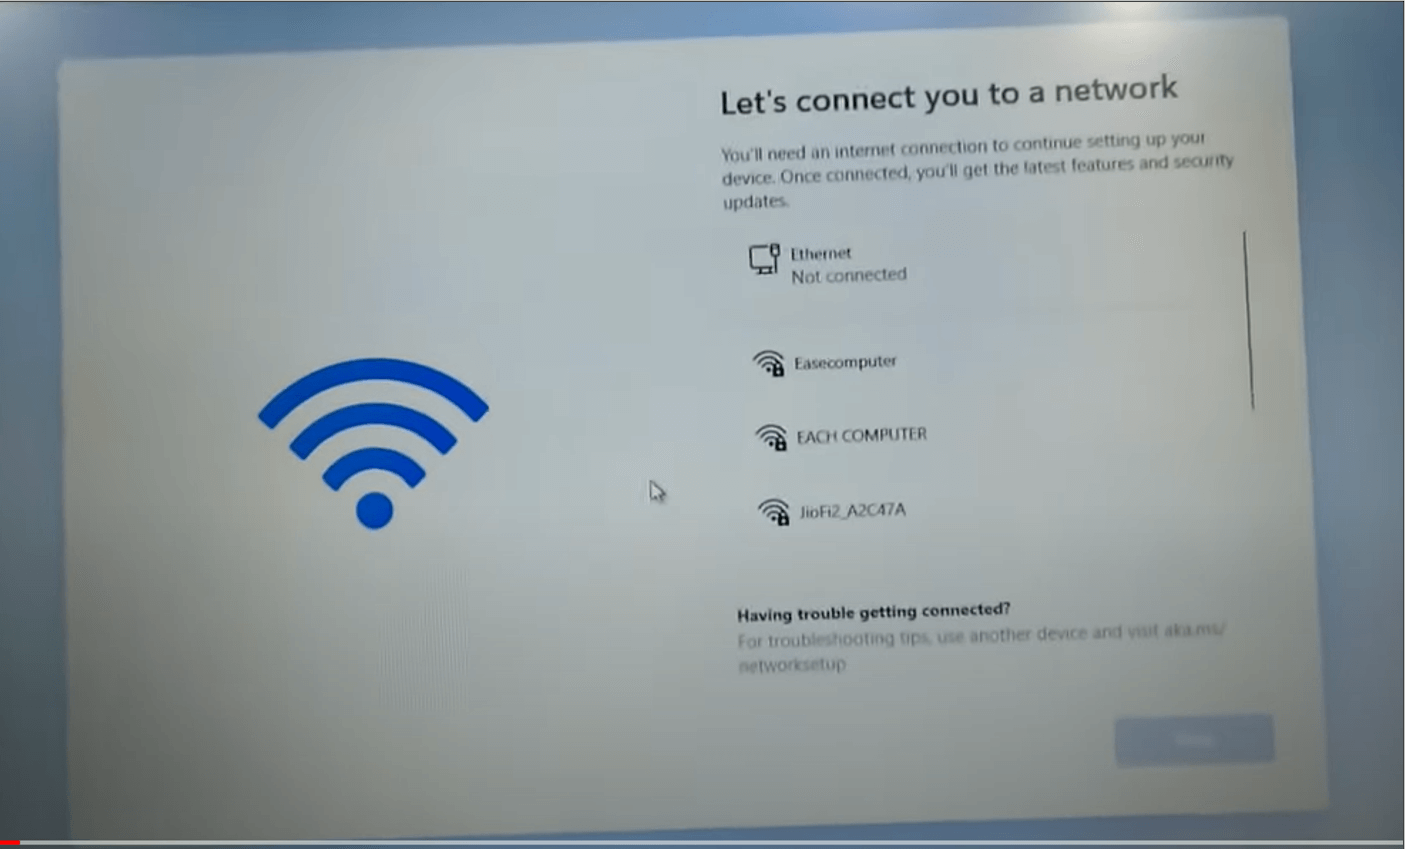
Step 4: The next screen is to connect to the internet. If you are using an ethernet connection to the internet, it will automatically connect to the internet. If you are connecting wirelessly- you will select the Wi-Fi network name and click on Connect. You will put in the Wi-Fi password and then click on next.
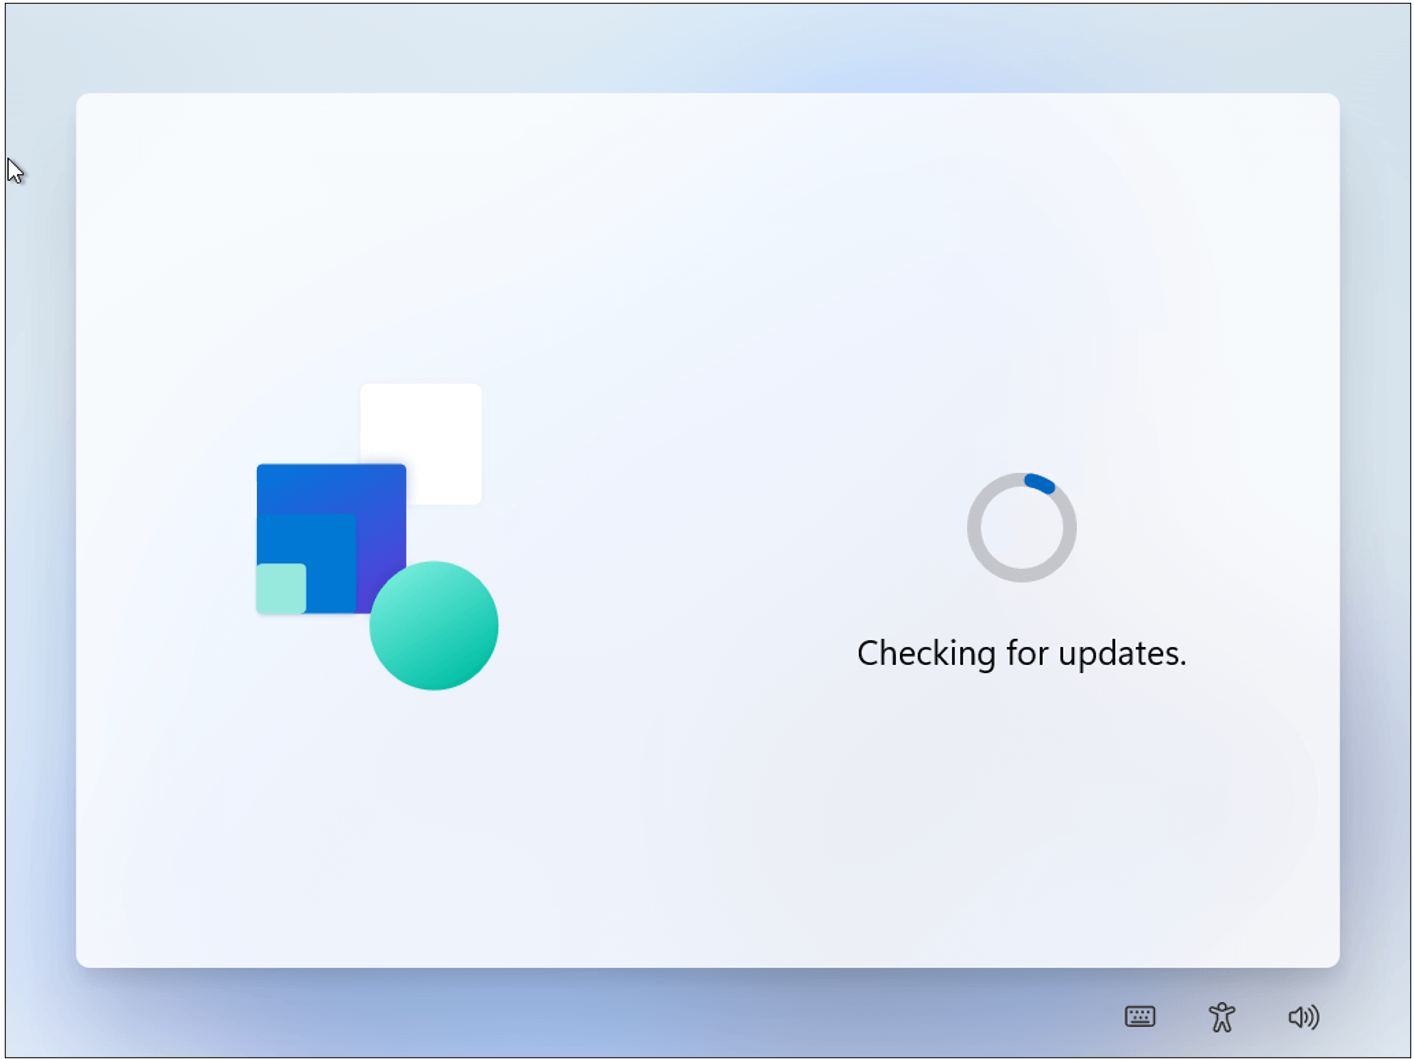
Step 5: Once you are connected to Wi-Fi your computer will start looking for any updates that need to be completed. You do not need to do anything during this step.
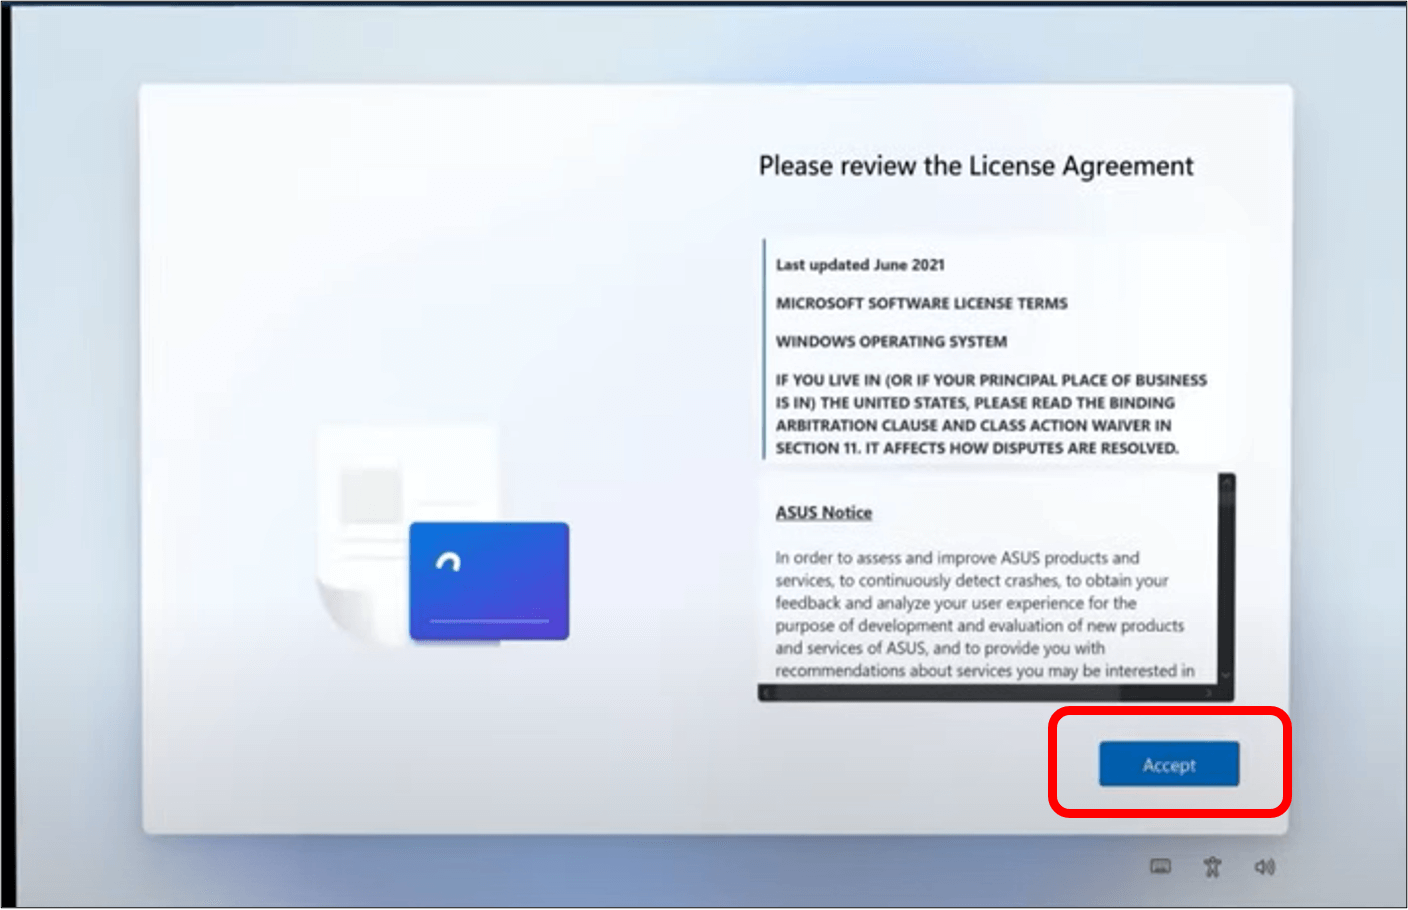
Step 6: On the next screen you will see the License Agreement. The License Agreement is stating that the software can be used but not sold by you. Once you read and the agreement you can click on Accept.
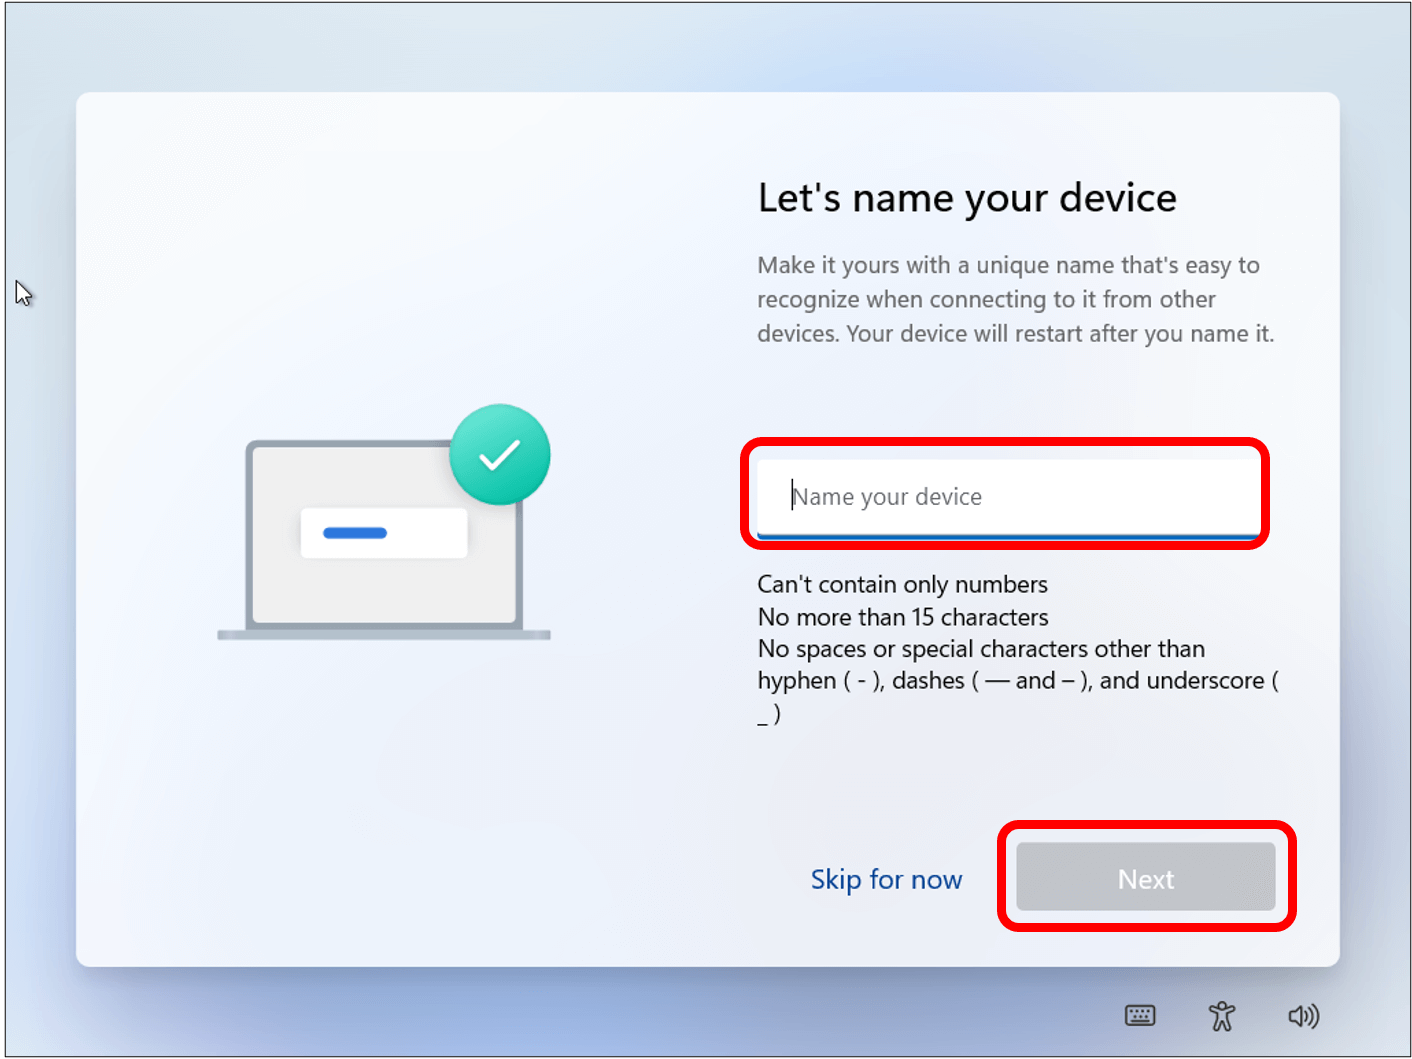
Step 7: Choose a name for your PC. This is a unique name so that you can recognize the device when you want to connect it to your other devices. Once you have chosen a name, click Next.
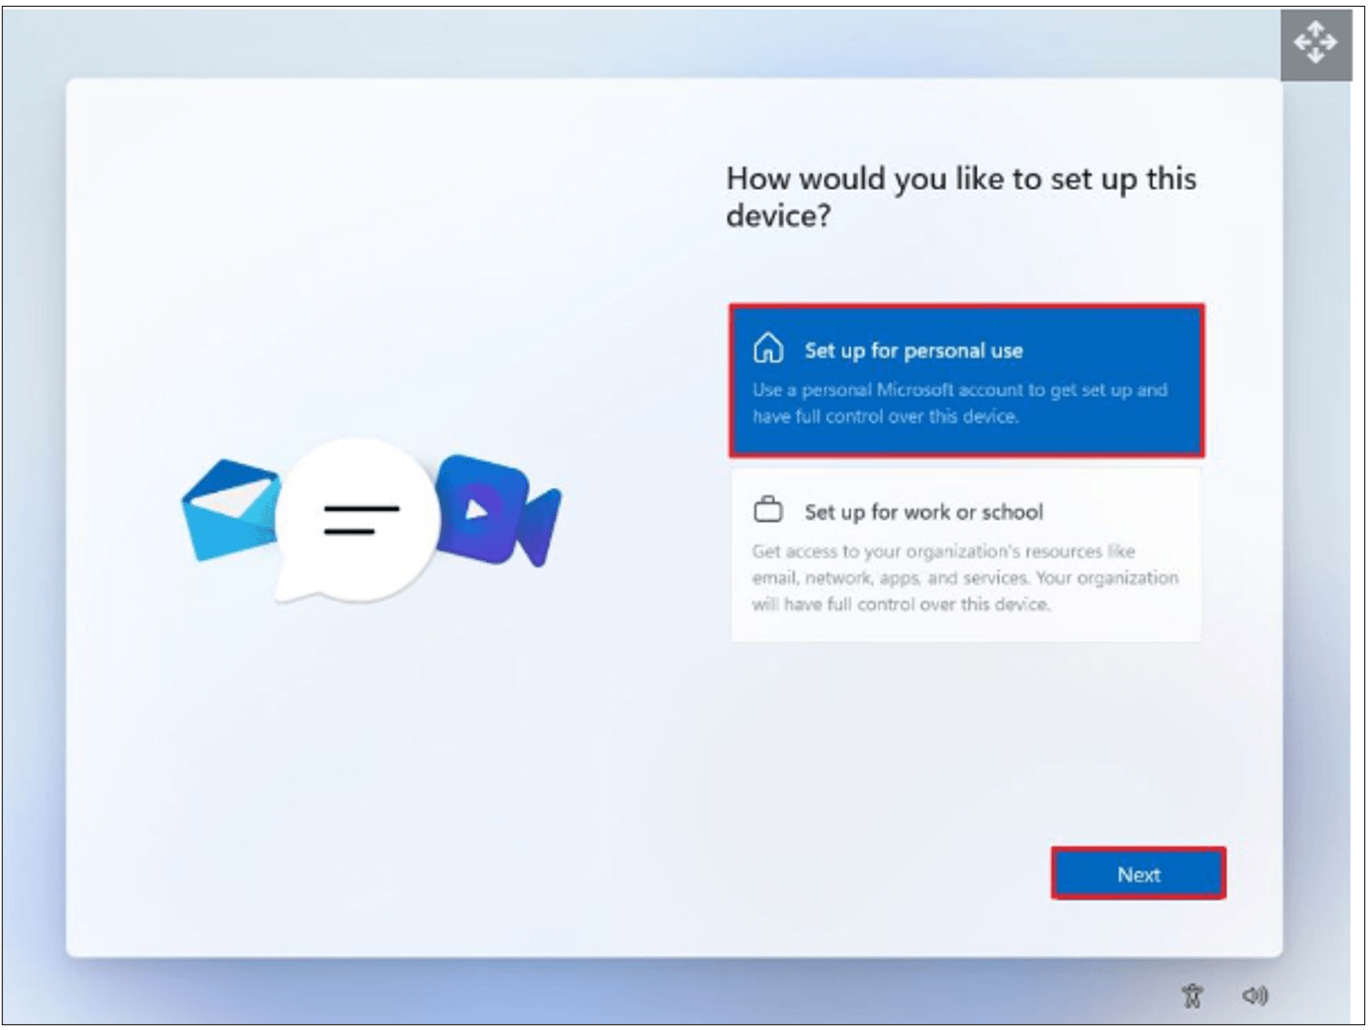
Step 8: If the operating system is Windows 11 Pro edition, the next screen that you will see is the “How would you like to set up this device and it will ask you to either select on “Set up for personal use” or “Set up for work or school” and click on Next. For this demo we will set the computer up for personal use.
If the operating system is the Home edition, you will not get this screen.
The next part of the set up process is creating a Microsoft account. to view the steps of setting up an account move on to the next lesson. If you already have a Microsoft account fill in your information and then move on to the third lesson: How to set up your computer part 2.