How to set up a Windows Computer Part 2
Now that you have created or added your Microsoft account, let’s continue through the set up process. To complete the set up process follow the steps below.
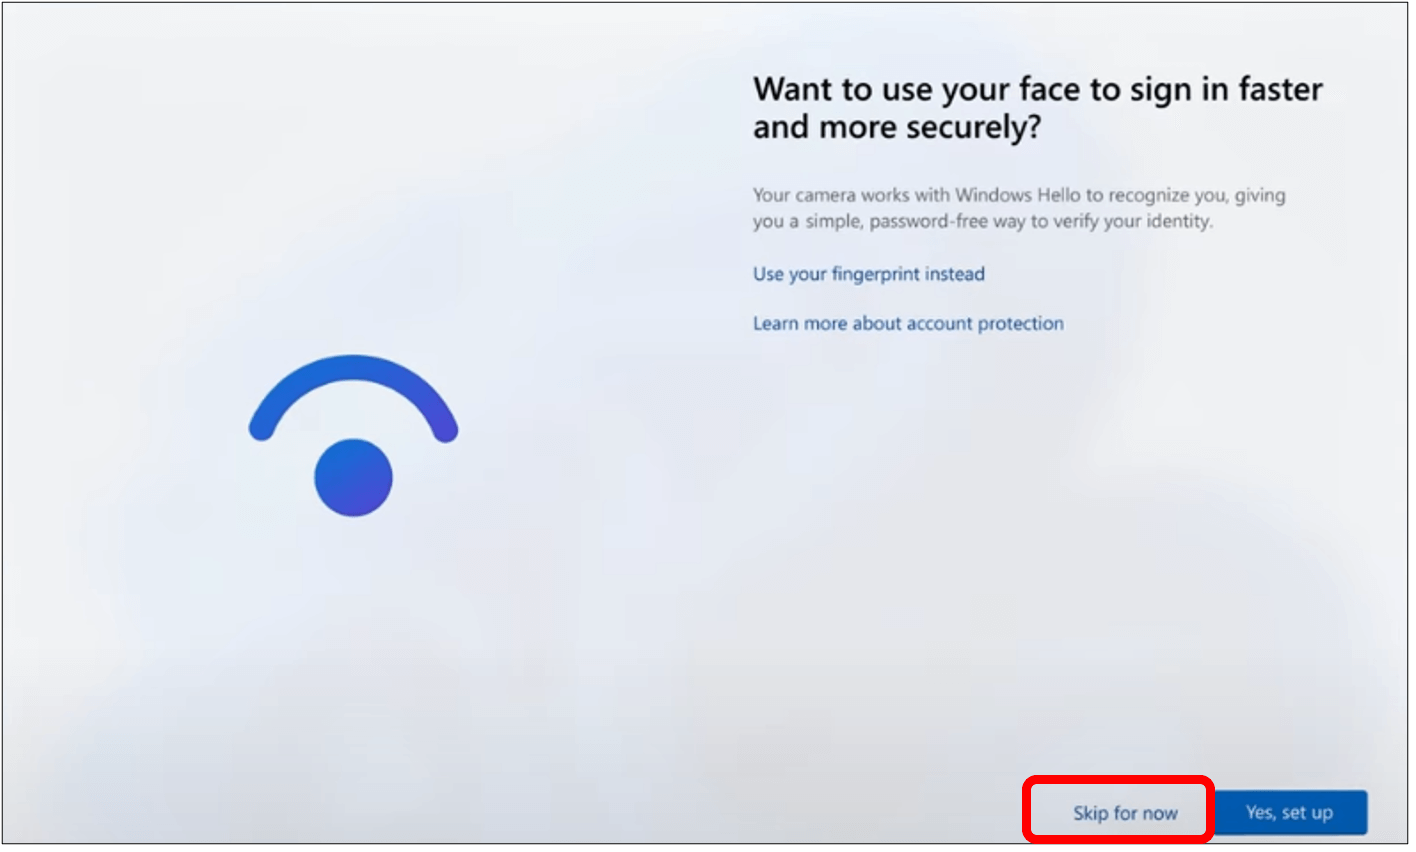
Step 1: If your computer has a webcam that supports Windows Hello you have the option of using Face ID to get into your computer. The screen that will appear will say “Use your face to sign in faster and more securely.” If the webcam does support it, you can either click on Skip for now or Yes, set up. For this demo we will skip this step but you can always go into your settings later and set this feature up.
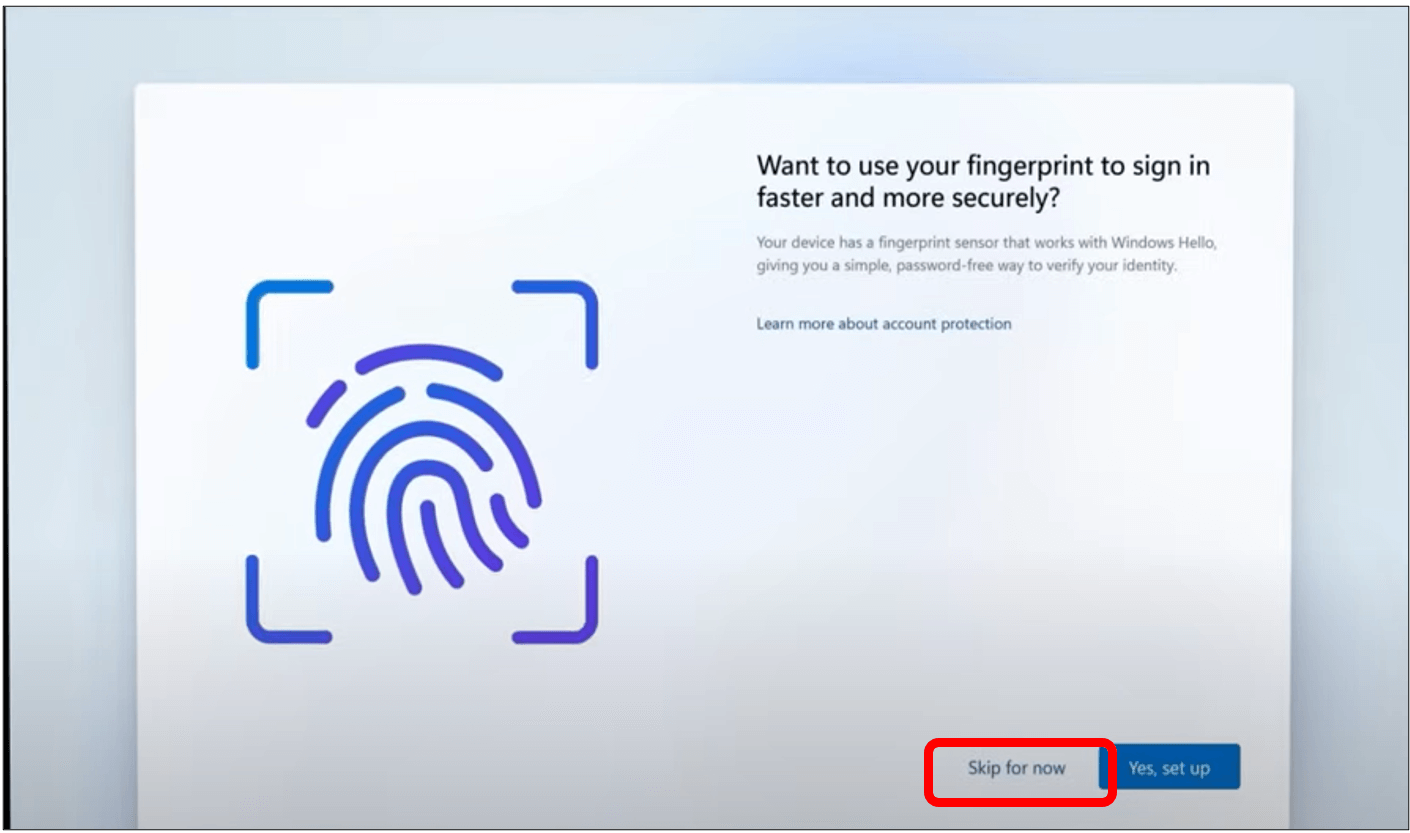
Step 2: If the computer has a fingerprint reader that supports Windows Hello, the next window is to set up the fingerprint ID to sign in faster. You can either click on Yes, set up or Skip for now. For this demo we will skip this step for now but you can go back to your settings at a later time to set up this feature.
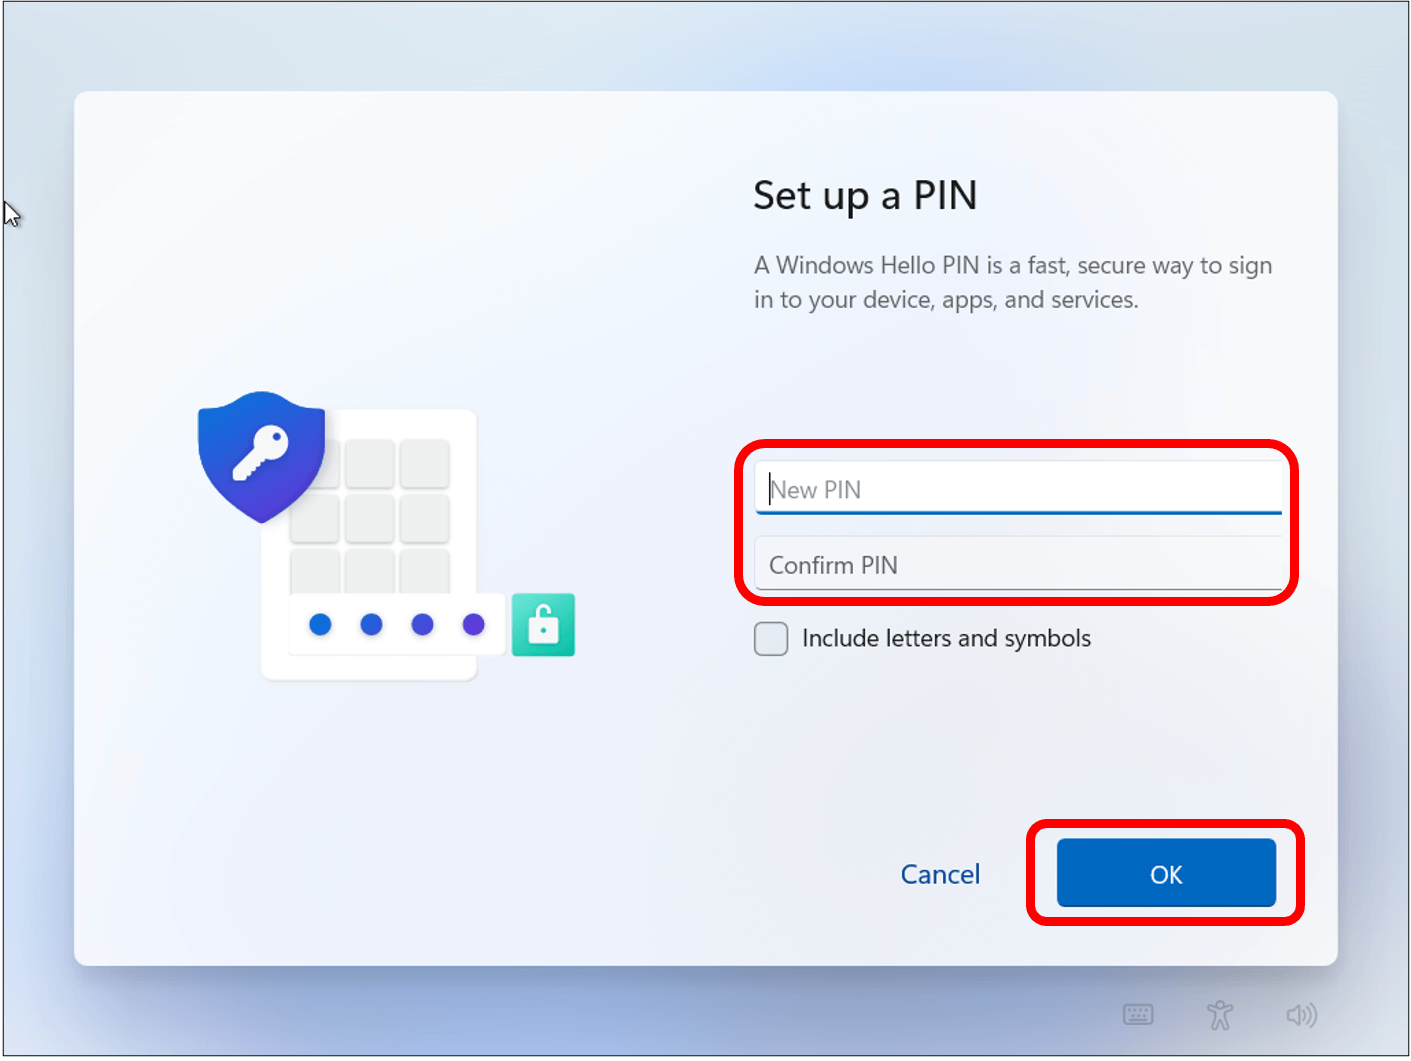
Step 3: You will then be asked to set up a PIN. This is a code that you will use to get into your computer. Click on Create PIN.
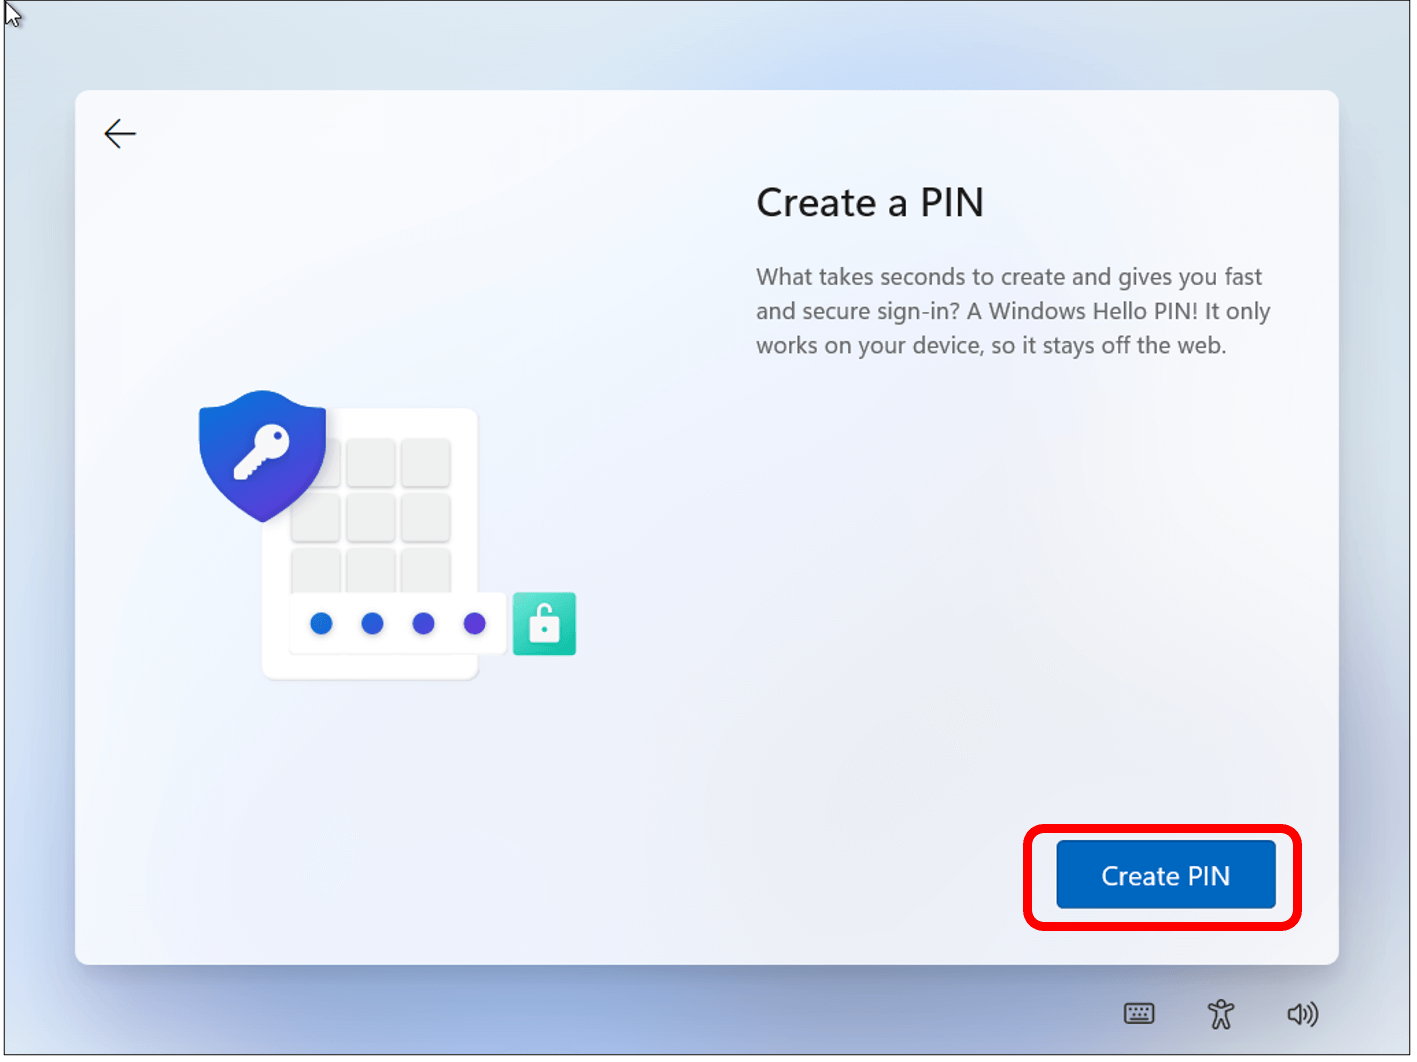
The next screen will allow you to set up a pin code and once done you will click on OK. Just like when you create a password, make sure it is not something that is easy for someone else to guess such as: 1234.
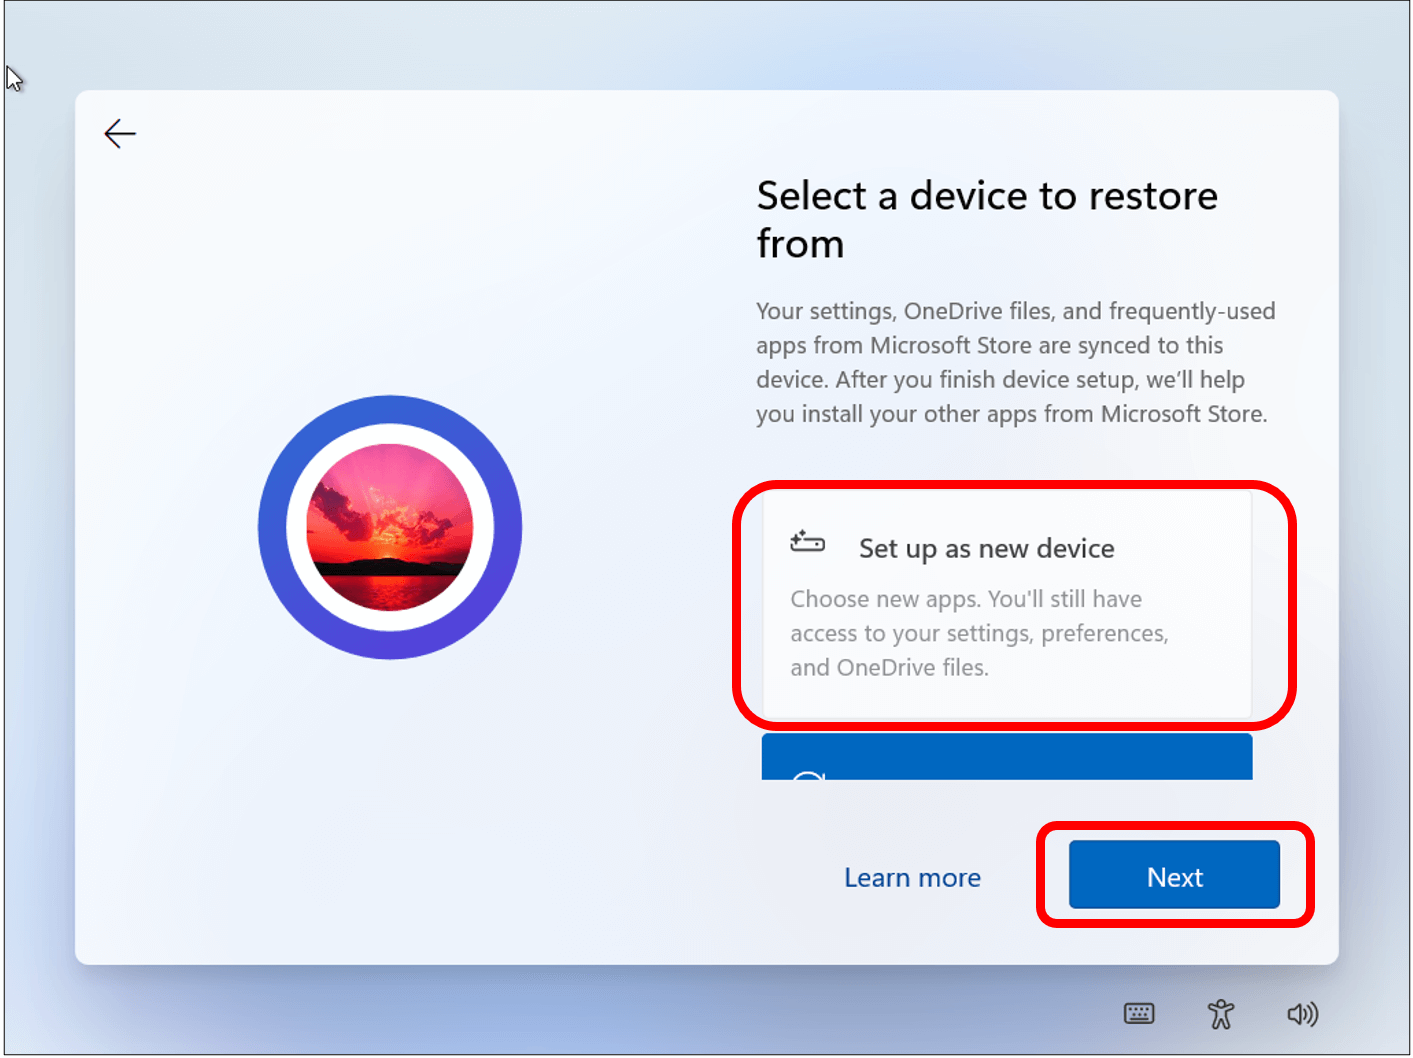
Step 4: A screen will appear that will give you the option to restore your information from another device or to setup computer as a new device. For this demo we will set up as a new device. Click on set up as new device then click next.
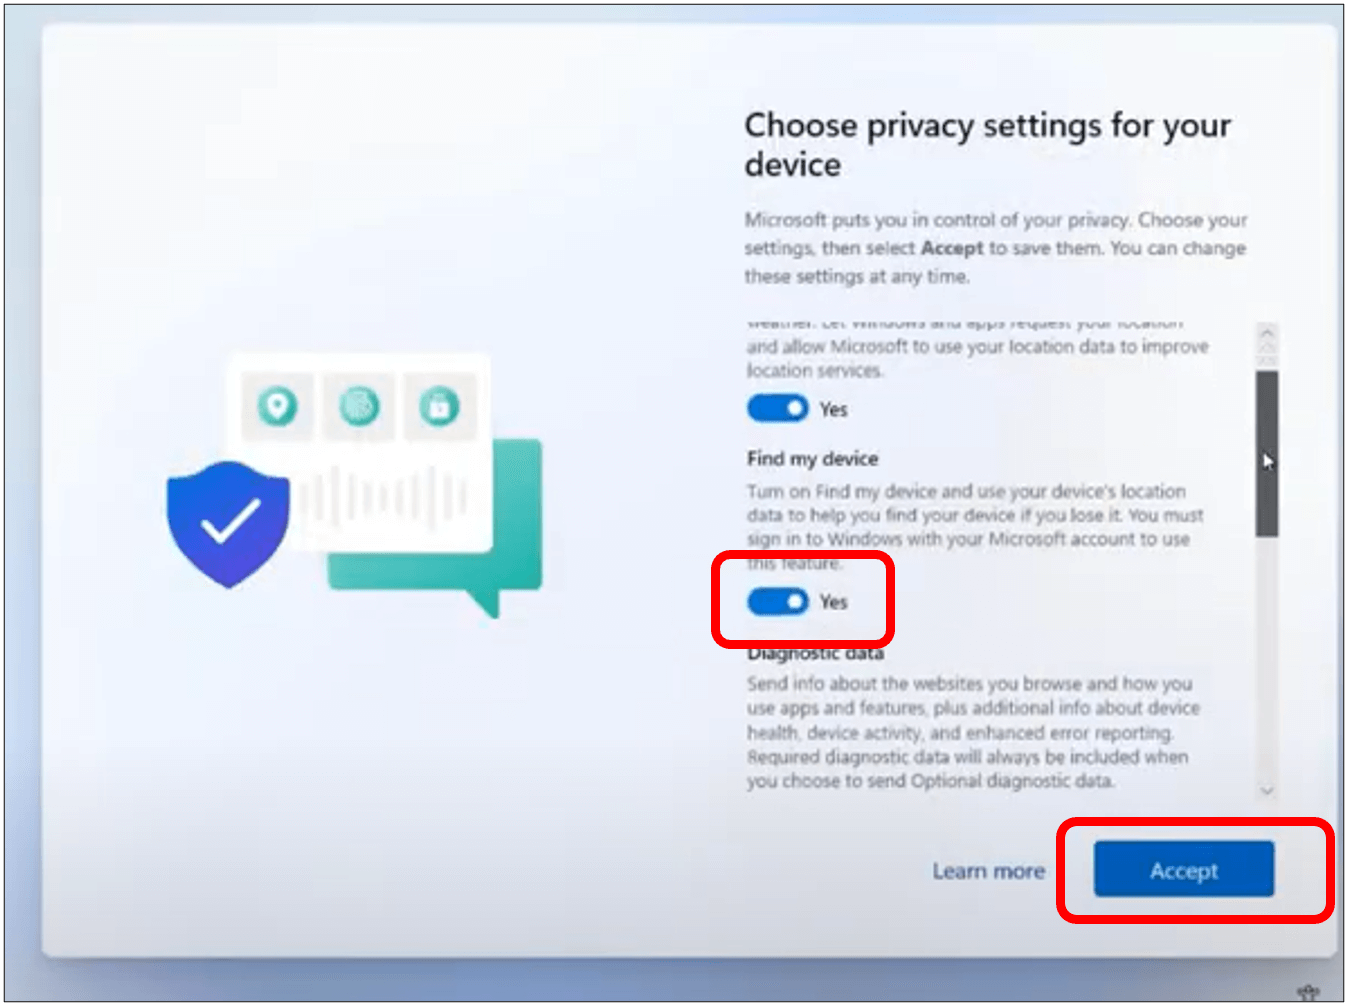
Step 5: Select your privacy settings for your device which are Location, Find my device, Inking and typing, Tailored experiences etc. by clicking on the toggle below each setting. If the toggle is blue and says Yes beside it, this means that privacy setting is turned on. You can either turn it on or off and then click on Accept.
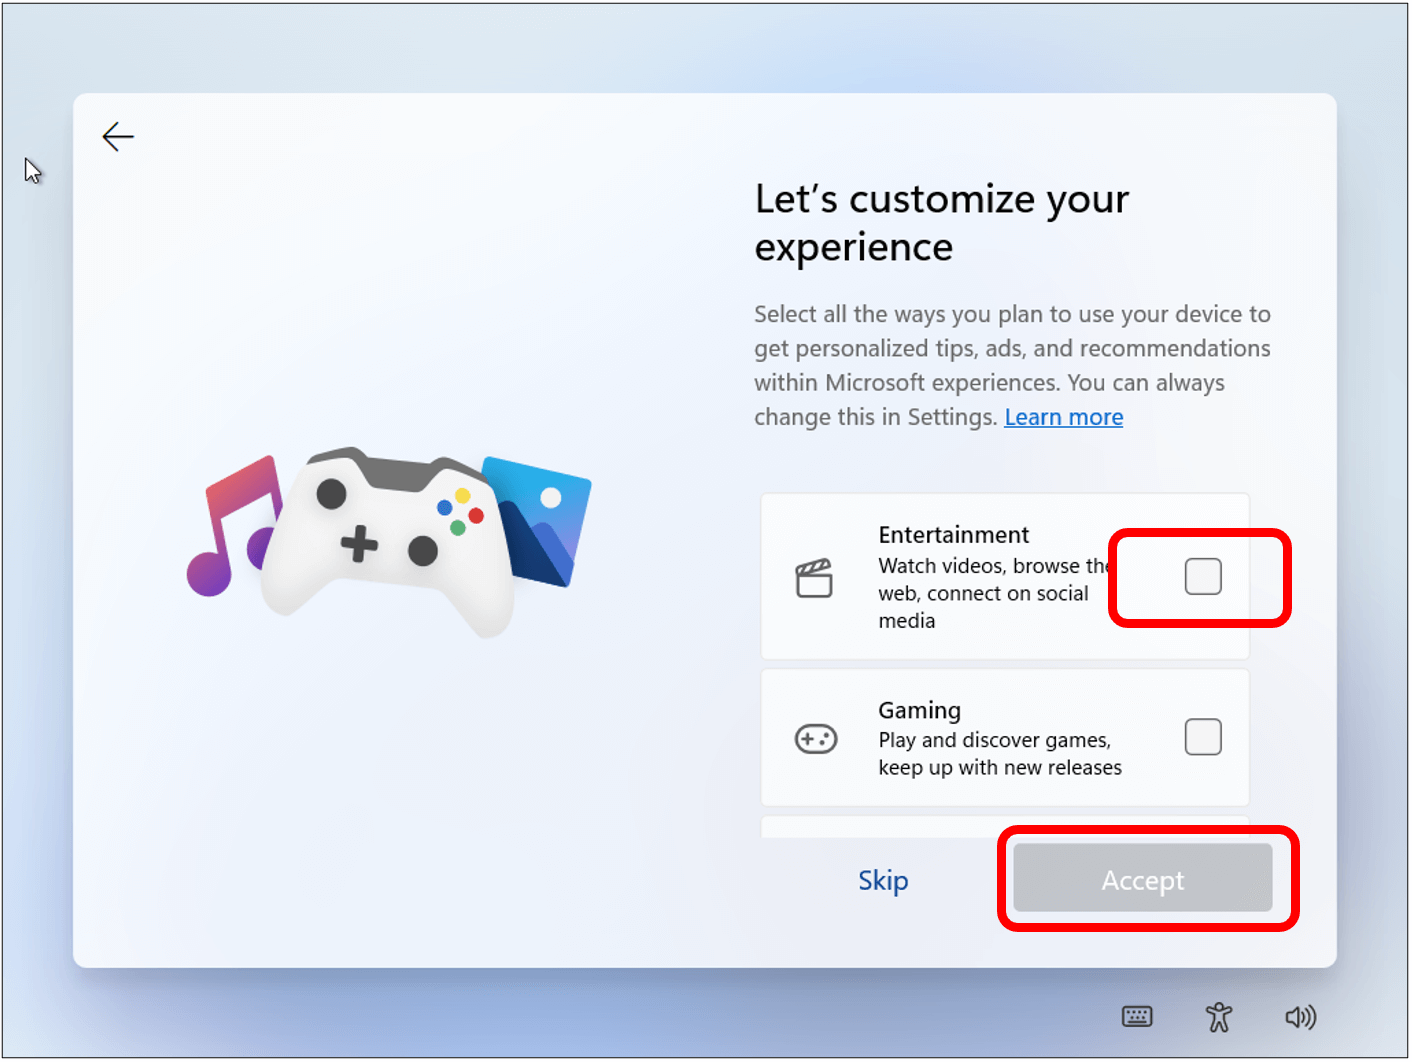
Step 6: The next window is to customize the experience. This allows you to choose what you will be using the device for so that Microsoft can provide you with recommendations and tips. You can either click on the small box beside each of the options that you want and then click on Accept or click on Skip to skip this step for now.
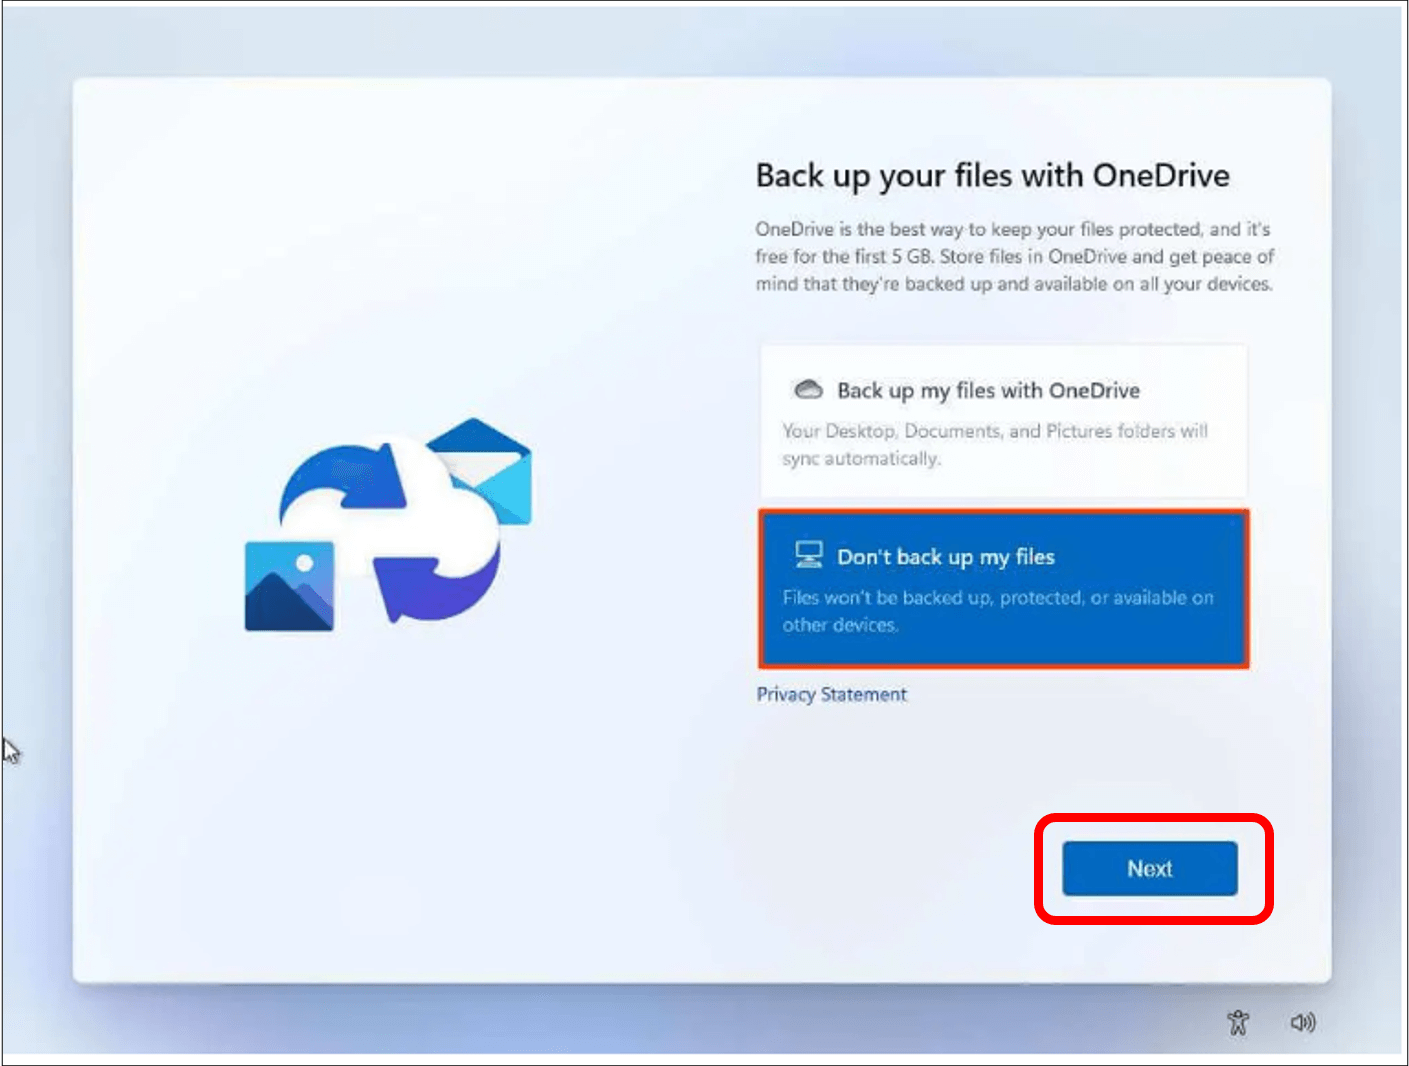
Step 7: You will then be asked if you want to back up your files to one drive which would consist of the desktop, documents and pictures folder and there will be two options either click on “Back up my files with OneDrive” or “Don’t back up my files”. You can select one and click on Next. OneDrive allows you to be able to access all of your files on all of your other devices.
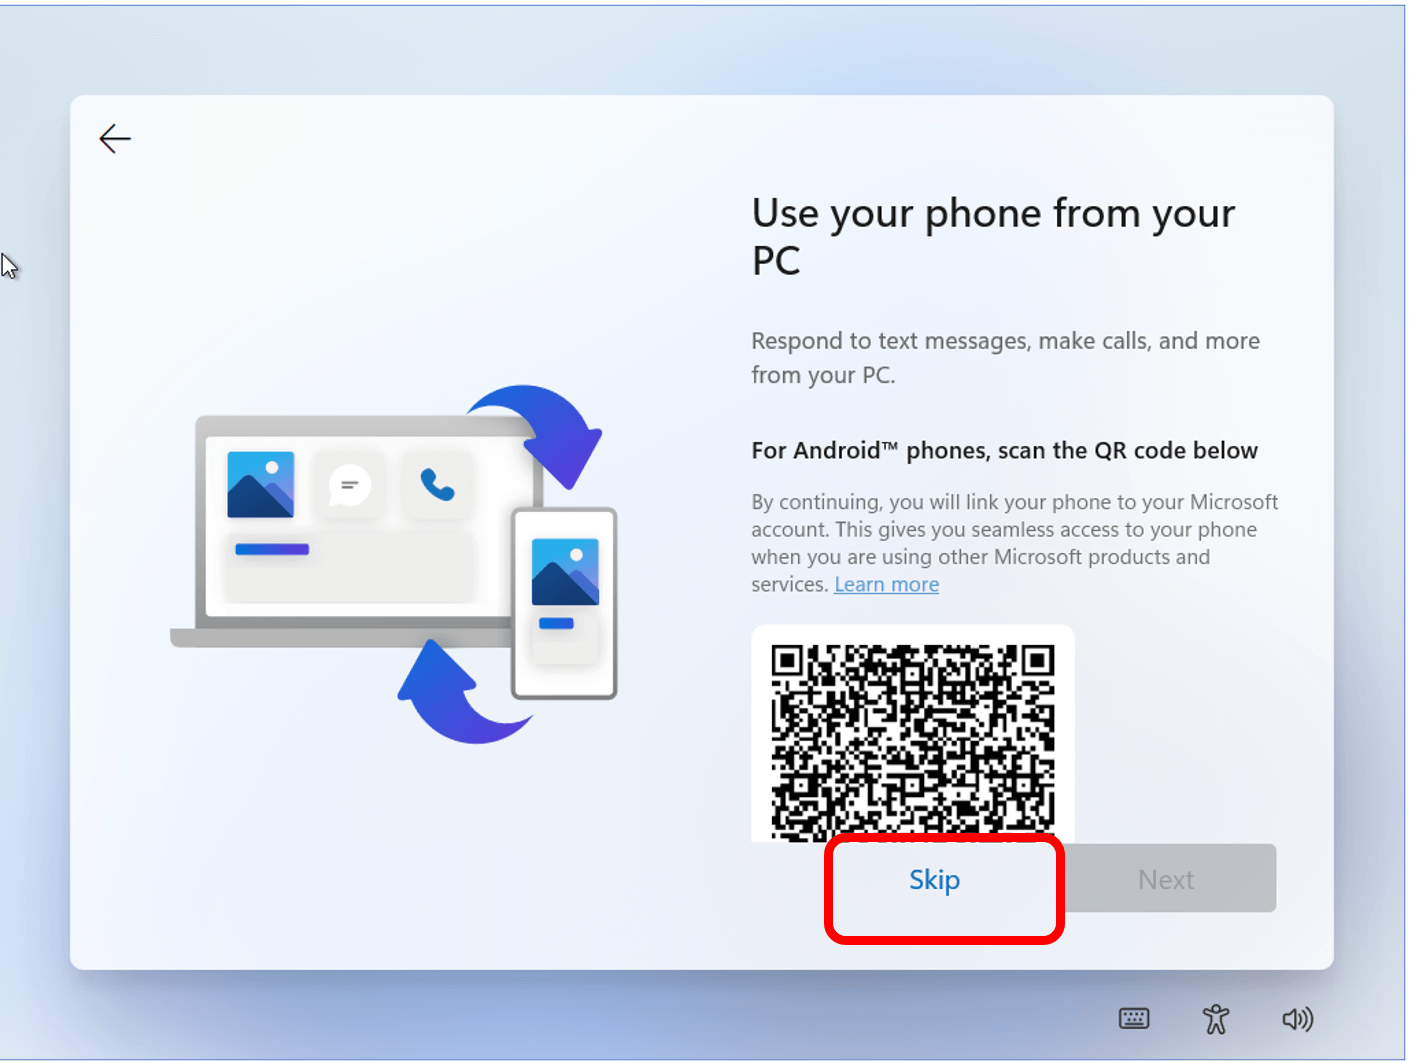
Step 8: The next window will ask if you want to use your phone from the computer. This allows you to answer text messages and phone calls right from your computer. You can click on either Skip or Next. Note: if you choose to do this, you will need to scan the QR code that is on the screen using the camera app on your smartphone.
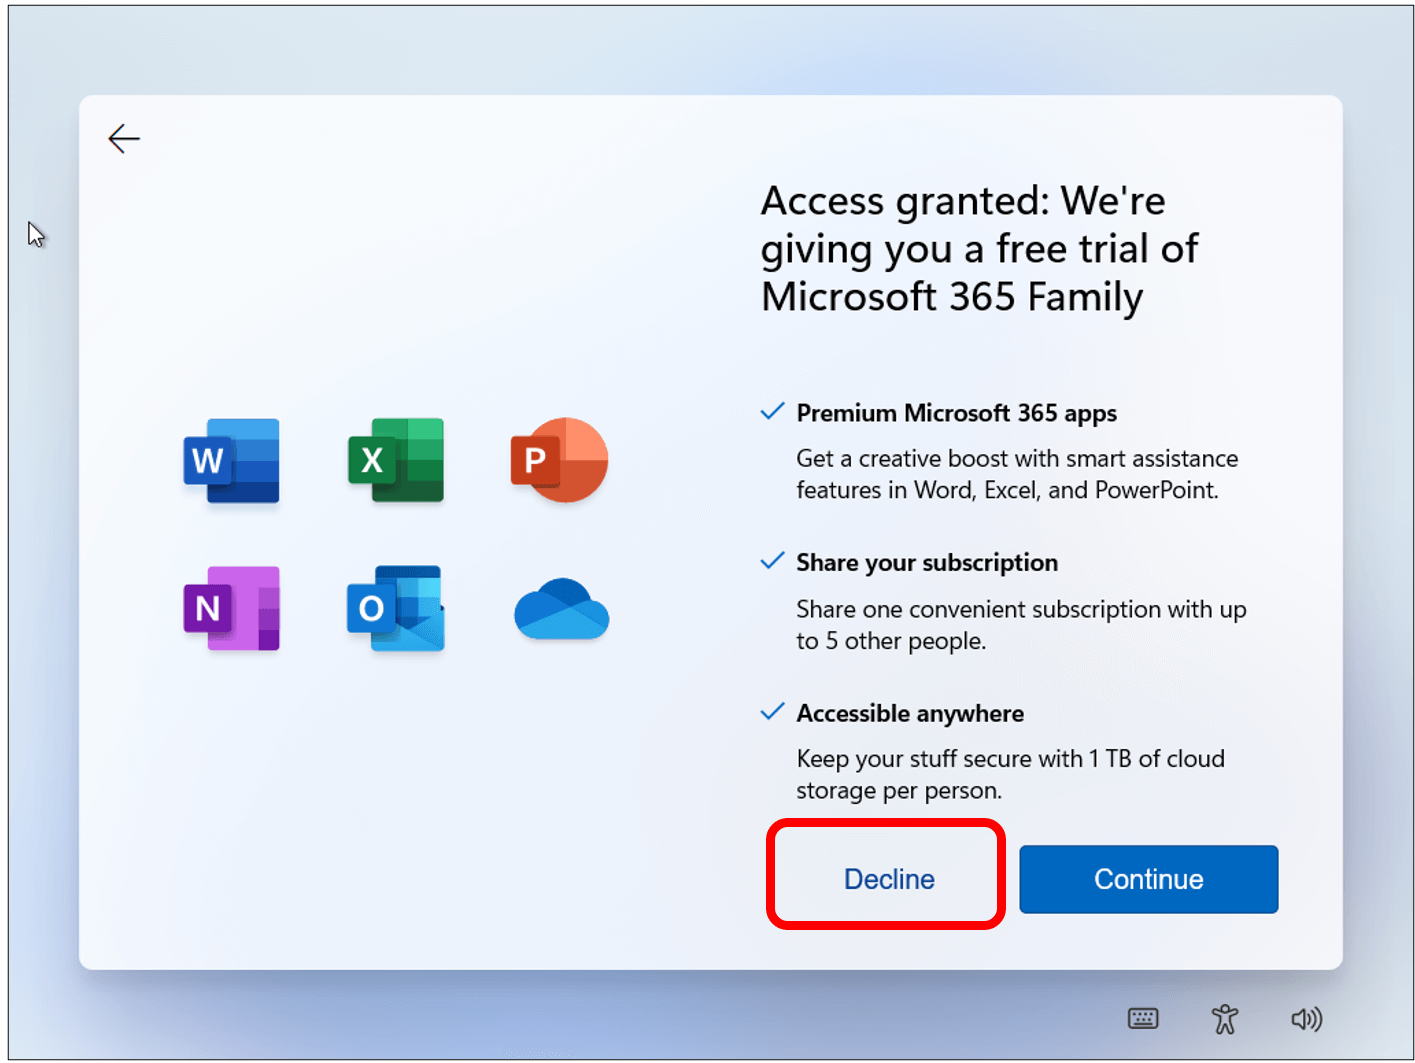
Step 9: You are going to be offered some extras to add to your computer. The first one is Microsoft office 365 for a free one-month trial version so you want to click on decline if you do not want to try it out or that you have a different version of office.
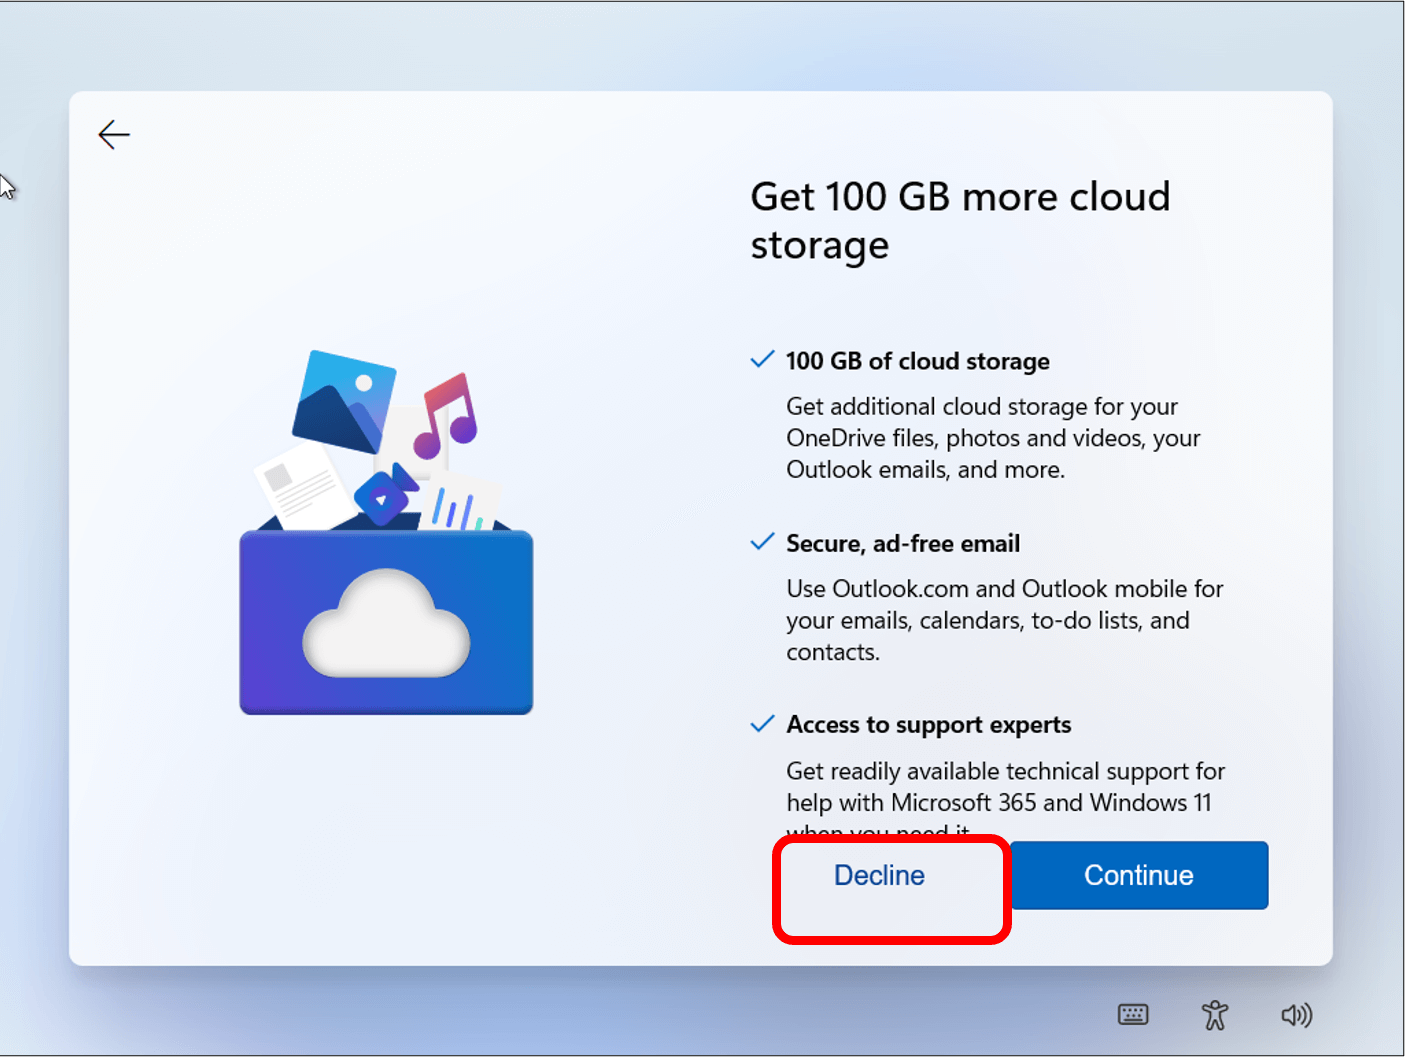
You will then be asked if you would like to purchase more cloud storage. This means more room to save files, documents, photos, etc. Click decline if you do not want it or continue if you do. For this demo we will click on Decline.
The last offer you will see is the first month of the pc game pass. Click on Skip for now.

Step 10: The final part of the set up process is checking for updates. The computer will check for updates and then you will see a screen that says this may take a few minutes don’t turn off your pc. You do not need to do anything just let the computer set everything up.

Once that is done, it will check for any updates for the pc and if there is some it will do it and it could also reboot the pc so once it is done it will bring the sign in screen which you will want to sign in and the pc will now load to the desktop and the pc is now set up.